E6N Ifrit & Garuda Raid Guide – Eden’s Verse: Furor
Duty Information
Expansion: Shadowbringers Raid Archive
Series: Eden Raid
Tier: Eden’s Verse
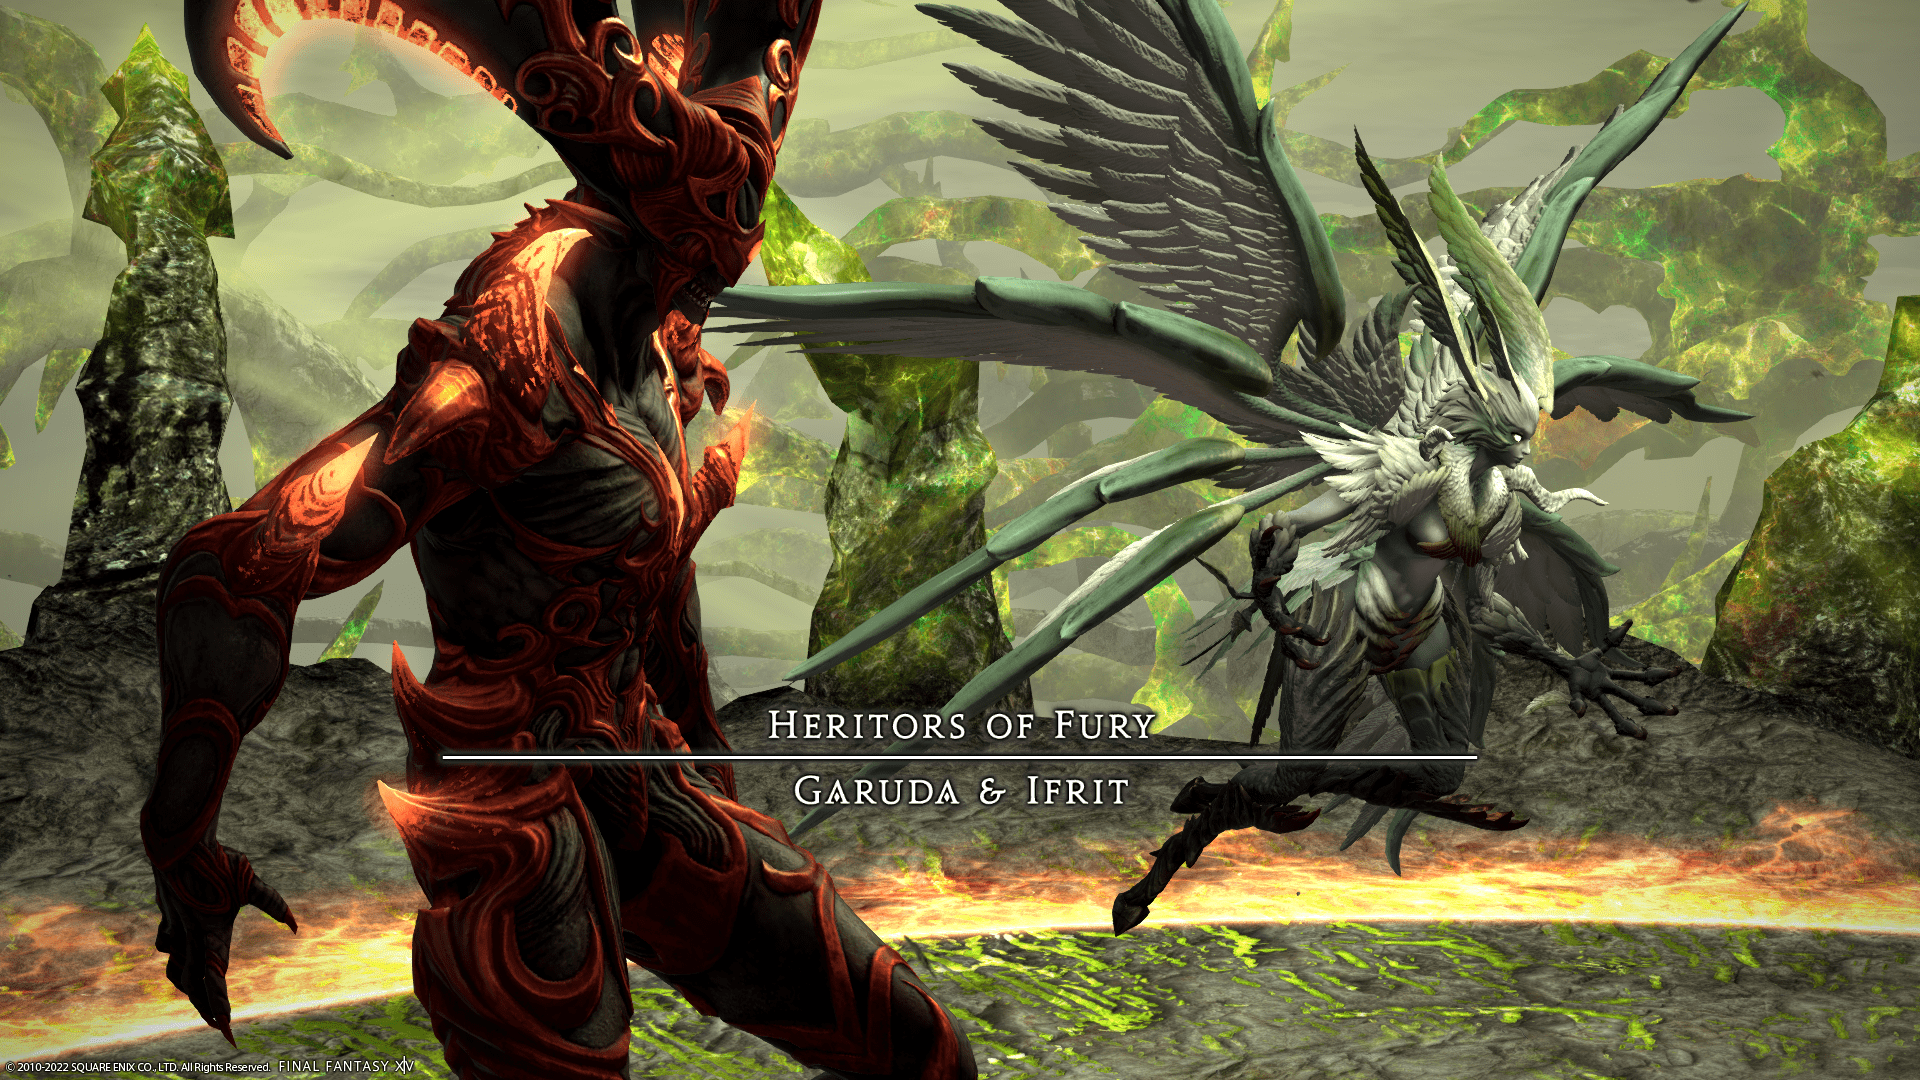
Encounter: E6N – Ifrit & Garuda
Players: 8 (Tank / Tank / Healer / Healer / DPS / DPS / DPS / DPS)
Duty Finder Type: Raid (Normal)
Level: 80
Item Level: 455
Unlock Requirement: Talk to Lewrey after completing Into the Firestorm
Encounter Overview
Eden’s Verse: Furor is the second encounter of the Eden’s Verse raid tier and features a multi-phase battle against Garuda, Ifrit, and their fused form, Raktapaksa. The fight revolves around arena control, tether handling, knockback positioning, and reacting to overlapping mechanics once both primals are active together.
The circular arena has lethal outer edges, so movement discipline matters throughout the encounter. Early phases teach each primal’s signature mechanics separately, while later phases combine them into denser patterns that require quicker reads and cleaner positioning.
Arena Overview
The encounter takes place in a circular arena with an instant-death outer boundary. Several mechanics either knock players toward the edge or temporarily divide the arena with dangerous lines, making positioning and recovery space important.
Once Garuda uses Vacuum Slice, the arena is split by a persistent lethal line that players cannot cross. Later mechanics force each half of the group to solve movement patterns independently until the line disappears.
Mechanic Archive
Ferostorm
Garuda summons feather-blades on opposite sides of herself. After a short delay, the blades fire large conal attacks in the direction they are facing.
Response:
• check blade facing immediately
• move out of the cone lanes early rather than last-second sidestepping
• in later phases, remember Ferostorm can overlap with other mechanics, so leave yourself room to reposition again.
Superstorm
Garuda’s raidwide damage ability.
Response:
• mitigate and heal through it
• be ready for a mechanic immediately after the damage resolves.
Aerial Stack
Two players receive blue stack circles. Each marked player must share with at least one unmarked player. If not shared, the marked target is launched and takes near-fatal damage.
Response:
• split the party into two small groups, one for each marker
• the two marked players should never stack together
• after the stack resolves, move out of the follow-up ground AoE quickly.
Central Knockback
A large blue circle appears in the center of the arena and knocks all players away from it.
Response:
• move close to the knockback source without stepping inside it
• angle yourself so the knockback carries you into safe space rather than the edge
• knockback immunity can simplify this mechanic considerably.
Storm of Fury
Garuda creates a point-blank AoE under herself while tethering two players. She then fires conal attacks in the directions of those tethers.
Response:
• everyone first moves out of Garuda’s hitbox
• tethered players separate from each other to widen the safe zone
• the rest of the party stays away from both tether lines.
Vacuum Slice
Garuda dashes to center and cuts the arena in half with a persistent lethal void line.
Response:
• identify which side of the cut you are on and commit to solving mechanics there
• do not try to cross the line after it appears, as touching it is fatal.
Occluded Front
Wind orbs appear on each side of the sliced arena, leaving one safe pocket per side. Garuda then applies an inward knockback from the outer edge, pushing players and orbs toward the center line. The orbs later explode in point-blank AoEs.
Response:
• stand in the open safe pocket near the outer edge before the push
• let the knockback move you inward with the orbs
• then quickly move back outward so the orb explosions miss you.
Ifrit Arrives
A proximity marker appears before Ifrit crashes into the arena, dealing raidwide damage based on distance.
Response:
• move away from the impact marker
• heal quickly afterward as the next mechanics come fast.
Hands of Flame
Ifrit tethers the main target and teleports into them with a heavy hit, applying Light Headed.
Response:
• main tank mitigates heavily
• tanks should respect future concussive effects, since additional Light Headed stacks can become very dangerous.
Hands of Hell
One player receives three tethers. All but one can be passed to other players before the hit resolves. Anyone holding multiple tethers takes extremely high damage.
Response:
• pass the extra tethers quickly so three different players each hold one
• avoid panic-stacking while trading, since other mechanics often overlap this sequence.
Instant Incineration
Ifrit’s heavy tankbuster marked by a large red indicator.
Response:
• target tank mitigates
• the party stays clear of the tank so no one gets clipped by positioning mistakes.
Eruption
Flaming AoE circles appear around the arena and detonate shortly after.
Response:
• move immediately when your space is marked
• avoid drifting into teammates, especially during stacked mechanics.
Hot Foot
Flaming orbs appear around the outer edge. Ifrit teleports to one orb, then kicks it toward the center. The only safe area is near Ifrit’s teleport position.
Response:
• identify Ifrit’s teleport destination as soon as it appears
• move near him quickly, since the rest of the arena is about to explode.
Infernal Howl
Ifrit’s raidwide AoE.
Response:
• heal and stabilize before the dual-primal phase begins.
Vacuum Slice + Eruption
In the combined Garuda and Ifrit phase, Garuda splits the arena again while Ifrit targets players with Eruption circles.
Response:
• first respect the arena split and stay on your side
• then place Eruptions cleanly without trapping your half of the platform.
Occluded Front + Hot Foot
Garuda’s orb knockback mechanic returns while Ifrit simultaneously alters one of the orb positions with Hot Foot.
Response:
• identify your safe orb pocket first
• then re-check whether Ifrit has displaced that safe orb on your side
• if he has, shift to the new safe spot near Ifrit’s position before the knockback resolves.
Aerial Stack + Hands of Hell
Two players receive stack circles while another player receives three tethers.
Response:
• decide quickly whether your priority is helping a stack or taking a tether
• make sure both stack markers have support first
• tether holders should spread afterward so the follow-up dashes do not overlap the group.
Raktapaksa Transition
Garuda and Ifrit merge into Raktapaksa, dealing heavy raidwide damage. The new boss’s HP is based on the median of their remaining health.
Response:
• heal and mitigate the transition hit
• keeping both primals relatively even helps avoid awkward transition timing.
Flaming Circles
Five large circles cover most of the arena, leaving only a few safe pockets near the outer rim.
Response:
• move decisively to one of the remaining safe pockets
• be ready to adjust immediately because Ferostorm often follows.
Hands of Flame (Raktapaksa)
Raktapaksa turns toward the main target and prepares a teleporting punch while the sides near the boss are also marked unsafe, leaving a narrow safe lane through the center.
Response:
• tanks keep the boss stable so the line is readable
• the party uses the center lane to avoid the side blasts.
Central Knockback (Raktapaksa)
The same center knockback returns during the fusion phase.
Response:
• move in tightly before the push
• this is especially important because later fusion mechanics leave less recovery space near the edge.
Conflag Strike
Raktapaksa fills the arena with repeated fire patterns, then finishes with a gigantic frontal cone that leaves only a small safe area directly behind the boss.
Response:
• use the early fire patterns to preserve movement space
• once the eruptions finish, sprint behind the boss immediately
• do not hesitate, because the final frontal cone covers almost the entire arena.
Encounter Flow
The encounter begins with Garuda, introducing directional blade attacks, knockback positioning, split stack markers, and the arena-halving effect of Vacuum Slice. This first phase teaches the party how to solve movement patterns while respecting the arena edge and persistent hazards.
The second phase shifts to Ifrit, who brings tether-sharing, tankbusters, eruptions, and the positional safe-spot check of Hot Foot. Players move from mostly reactive spacing into cleaner role handling and faster tether resolution.
Once both primals are active together, the encounter starts combining their signature mechanics. Arena splitting, orb knockbacks, tether passing, stacks, and eruptions begin to overlap, creating the true difficulty spike of the normal fight.
The final phase introduces Raktapaksa, whose mechanics blend Garuda and Ifrit patterns into larger, denser combinations. The party must recognize shrinking safe zones, continue handling stacks and tethers cleanly, and reposition quickly during the long Conflag Strike sequence.
After all major mechanics have been shown, the encounter loops familiar combinations until the boss is defeated.
Related Encounters
| Order | Boss | Normal Guide | Savage Guide |
|---|---|---|---|
| 1 | Ramuh | E5N Guide | E5S Guide |
| 2 | Ifrit & Garuda | E6N Guide | E6S Guide |
| 3 | Iconoclasm | E7N Guide | E7S Guide |
| 4 | Shiva | E8N Guide | E8S Guide |