Asphodelos Raid Encounter
Expansion: Endwalker
Raid Series: Pandæmonium
Raid Tier: Asphodelos
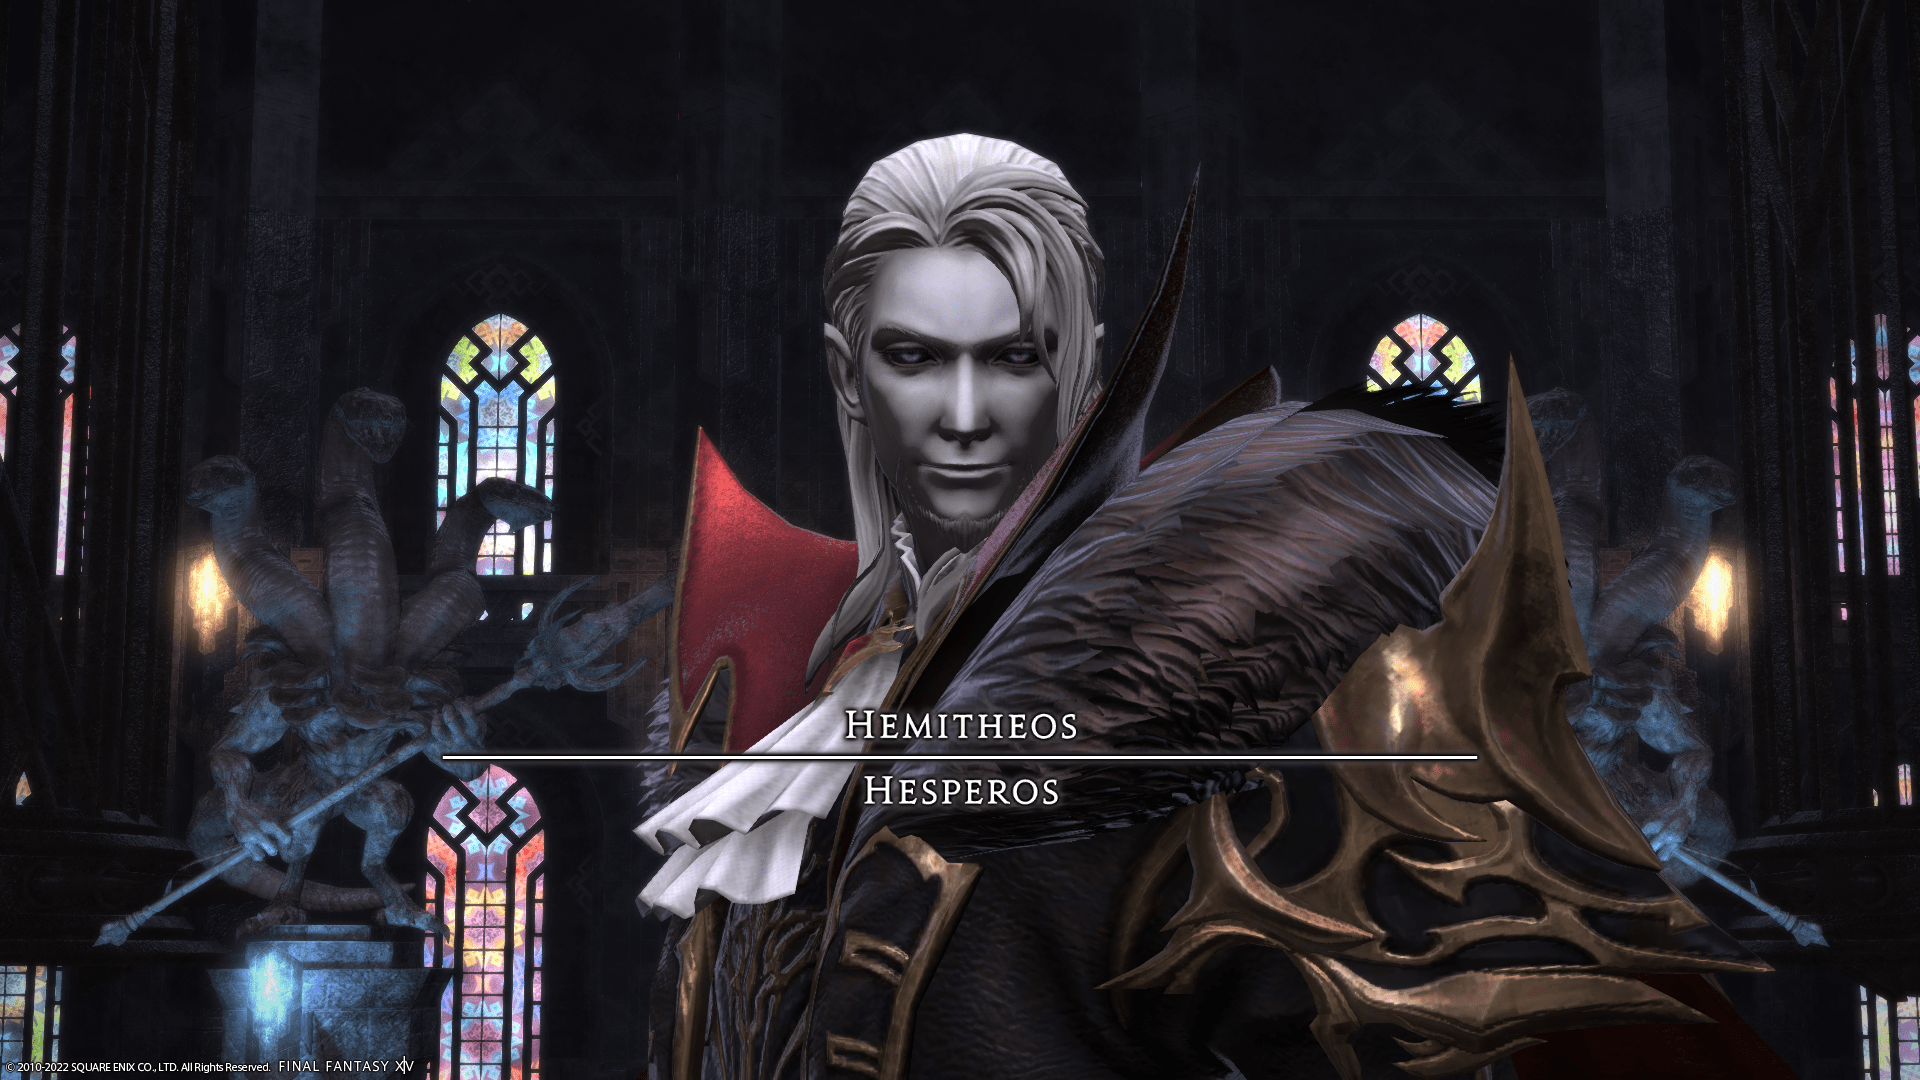
Encounter: P4 – Hesperos
Players: 8 (Tank / Healer / 2 DPS / 2 DPS / 2 DPS / 2 DPS)
Duty Finder Type: Raid (Normal / Savage)
Unlock Quest: To unlock Pandæmonium: Asphodelos you must complete the quest “The Crystal from Beyond.”
← Back to Asphodelos Raid Tier
Encounter Overview
Hesperos is the fourth and final encounter of the Pandæmonium: Asphodelos raid tier in Endwalker. The encounter revolves around arena manipulation mechanics through Setting the Stage and the Pinax elemental system, forcing players to react to different arena hazards.
As the fight progresses, Hesperos begins combining mechanics together, requiring players to manage arena hazards while resolving role-based mechanics simultaneously.
Many attacks are simple to identify but extremely punishing if handled incorrectly.
Arena Layout
The battle takes place on a square platform divided into four quadrants.
Arena characteristics:
• four elemental wells positioned in quadrants
• lethal spike boundary surrounding the arena
• arena sections revealed through curtain mechanics
Each quadrant can become active through Pinax, producing a unique attack pattern.
Boss Behavior Profile
Hesperos uses mechanics centered around arena manipulation and role assignments.
The encounter features:
• tankbuster attacks
• heavy raidwide damage
• proximity attacks
• knockbacks
• spread and stack mechanics
• role-based meteor and orb mechanics
Players must quickly identify which quadrant will activate and react appropriately.
Mechanic Archive
Elegant Evisceration
Primary tankbuster attack.
Player Response
• Tanks must mitigate damage
• Healers prepare to restore tank health.
Setting the Stage
Hesperos places curtains over one or more quadrants of the arena.
After a brief delay the curtains glow red and disappear, revealing which elemental well will activate next.
Setting the Stage itself deals no damage but indicates the next mechanic.
Pinax
After Setting the Stage, one of the four elemental wells activates.
Touching the wells applies a status effect depending on the element:
• Lightning → Electrocution
• Water → Dropsy
• Poison → Pollen
• Lava → Burns
Each element triggers a different mechanic.
Levinstrike Mekhane (Lightning)
Proximity-based explosion centered on the arena.
Player Response
Players move toward the corners of the arena to minimize damage.
This is always the first Pinax variant.
Well Mekhane (Water)
Knockback originating from the center of the arena.
Player Response
Players position themselves to avoid being pushed into the arena spikes.
This is always the second Pinax variant.
Acid Mekhane (Poison)
All players receive spread markers.
Player Response
Players must spread out to avoid overlapping damage.
This is always the third Pinax variant.
Lava Mekhane (Lava)
Places a stack marker on a random player.
Player Response
The party must stack together to share damage.
This attack appears after all other Pinax variants have occurred.
Decollation
Heavy raidwide damage ability.
Player Response
• Party mitigation recommended
• Healers prepare for large raid recovery.
Hell Skewer
Line AoE attack striking directly in front of Hesperos.
Player Response
Players must move to the sides or behind the boss.
Directional Shift
Hesperos marks the edge of the arena and performs one of two attacks depending on the symbol.
Sword Marker
Performs a massive cone attack across the arena.
Players already holding vulnerability stacks will be instantly killed.
Player Response
Move outside the cone area.
Cloak Marker
Performs a knockback from the marked location.
Players not standing directly in front of the marker risk being knocked into the arena spikes.
Player Response
Players must position directly in front of the marker to avoid lethal knockback.
Bloodrake
Raidwide damage followed by a role-based mechanic.
Hesperos drains aether from the party and then triggers one of two follow-up mechanics.
Belone Coils
Four meteor circles appear in the center of the arena.
Each meteor has an anti-role icon.
Rules
• At least one player must soak each meteor
• Players matching the role icon cannot soak that meteor
Failure to soak meteors results in vulnerability stacks for the raid.
Belone Bursts
Green orbs appear around the arena and tether to players.
Each orb also contains an anti-role icon.
Players must pop orbs that do not match their role.
Each orb popped inflicts Thrice-come Ruin, which fades shortly after the mechanic resolves.
Combined Mechanics
Later in the fight, Hesperos begins combining:
• Setting the Stage
• Pinax mechanics
• Bloodrake mechanics
Players must resolve Belone mechanics while managing elemental arena hazards.
This creates the primary difficulty spike of the encounter.
Mechanic Sequence Pattern
The encounter follows a general pattern:
↓
Setting the Stage → Pinax Mechanic
↓
Hell Skewer / Directional Shift
↓
Bloodrake Role Mechanics
↓
Pinax Variations Continue
↓
Combined Pinax + Bloodrake Mechanics
As the encounter progresses, mechanics increasingly overlap, requiring coordinated movement and quick reaction to arena hazards.
Role Pressure Analysis
Tanks
Tanks must manage tankbusters and maintain boss positioning while responding to directional attacks.
Healers
Healers must recover the raid following repeated raidwide damage and assist players who make positioning errors.
DPS
Damage dealers must maintain uptime while reacting quickly to arena hazards and role-based mechanics.
Failure Points
Common wipe causes include:
• incorrect positioning during Pinax mechanics
• players knocked into spikes during Well Mekhane
• incorrect meteor soaking during Belone Coils
• players popping incorrect orbs during Belone Bursts
• overlapping spread markers during Acid Mekhane.
Difficulty Profile
| Category | Rating |
|---|---|
| Mechanical Complexity | High |
| Movement Requirement | Medium |
| Coordination Requirement | High |
| Punishment Severity | High |
Hesperos combines arena hazards with role-based mechanics, making it the most coordination-heavy fight of the Asphodelos raid tier.
Related Encounters
← Back to Asphodelos Raid Tier
← Back to Endwalker Raid Archive
← Back to FFXIV Raid Archive