Asphodelos Raid Encounter
Expansion: Endwalker
Raid Series: Pandæmonium
Raid Tier: Asphodelos
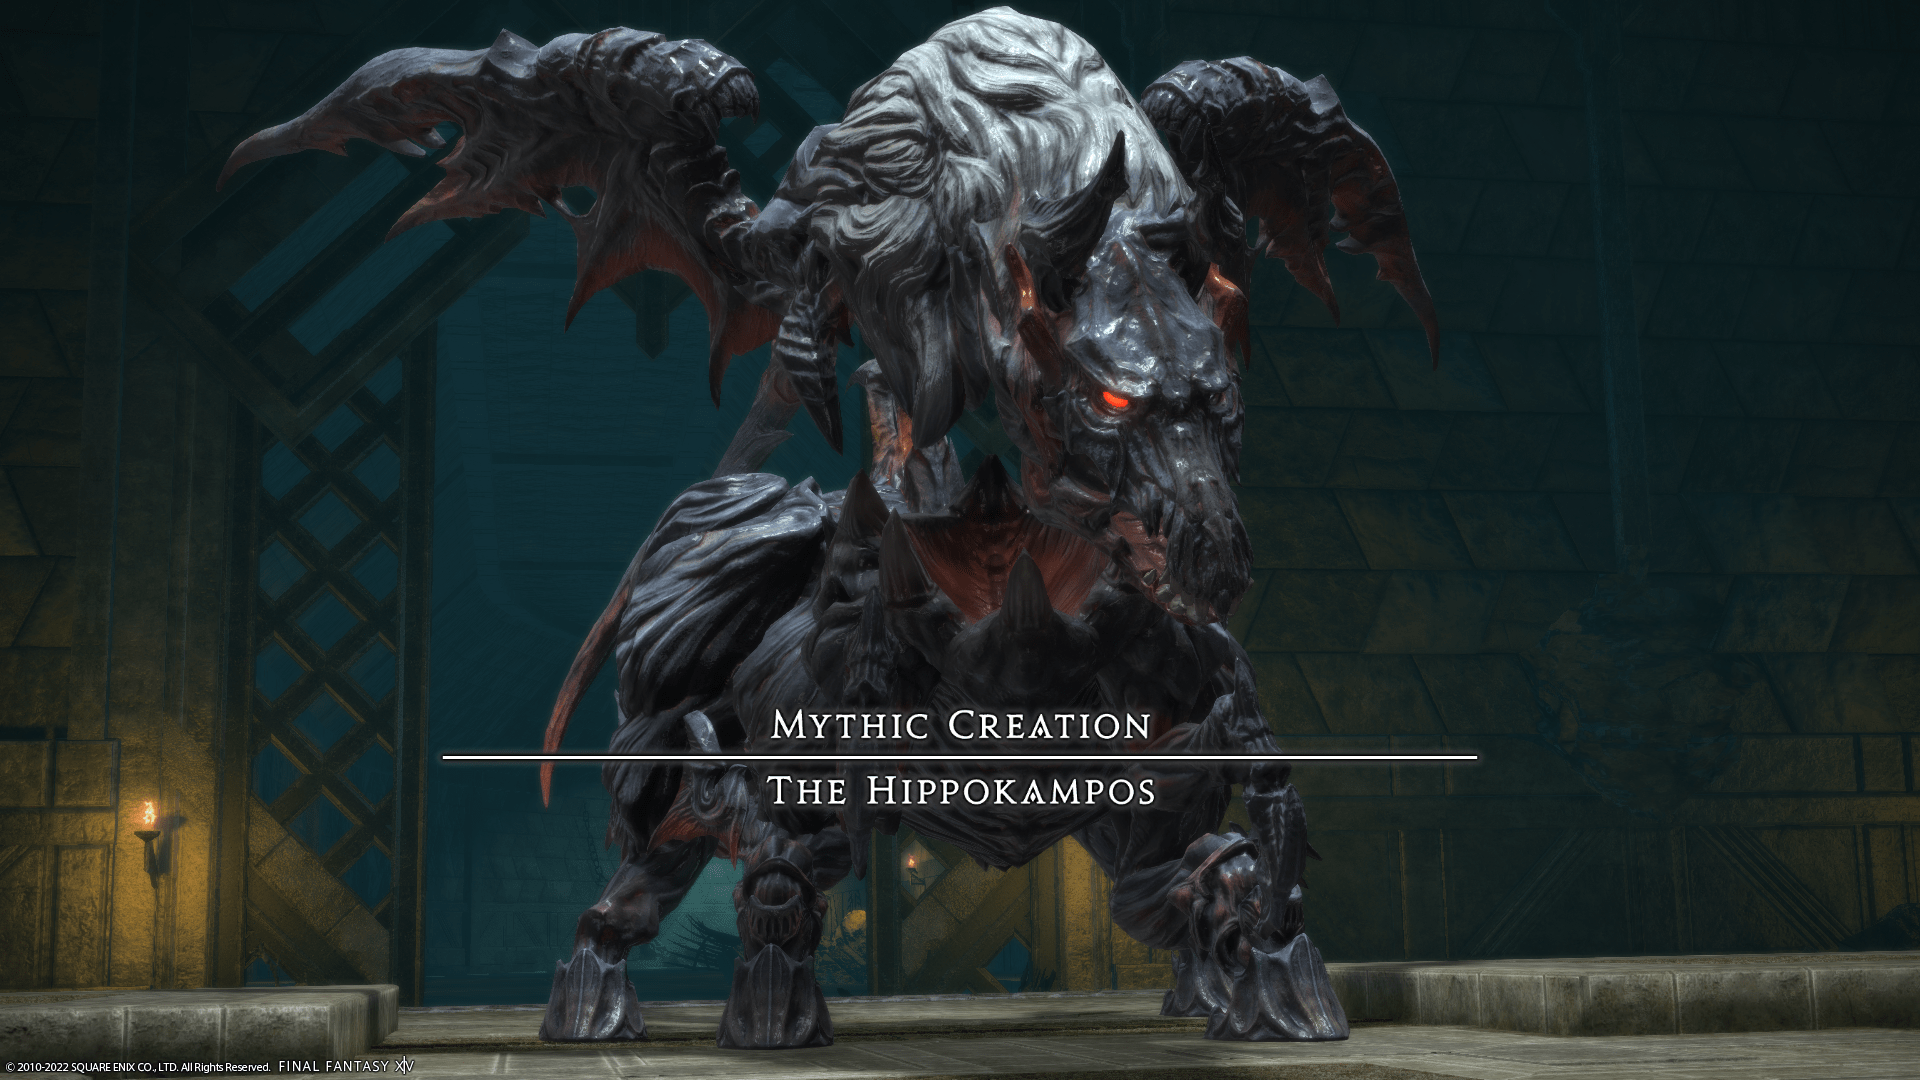
Encounter: P2 – Hippokampos
Players: 8 (Tank / Healer / 2 DPS / 2 DPS / 2 DPS / 2 DPS)
Duty Finder Type: Raid (Normal / Savage)
Unlock Quest: To unlock Pandæmonium: Asphodelos you must complete the quest “Under the Surface”
← Back to Asphodelos Raid Tier
Encounter Overview
Hippokampos is the second encounter of the Pandæmonium: Asphodelos raid tier in Endwalker. The fight focuses on heavy positional mechanics layered with repeated raidwide damage and arena control effects.
As the battle progresses, the arena becomes partially flooded, restricting movement to a set of raised platforms and narrow grates. Players must navigate these limited spaces while responding to overlapping mechanics such as knockbacks, divebombs, and spread attacks.
The outer edge of the arena is lethal, making positioning especially important during knockback mechanics.
Arena Layout
The encounter arena consists of four raised platforms connected by narrow grates.
Arena characteristics:
• four primary safe platforms
• narrow grate walkways between platforms
• lethal arena edge
• water hazards during later phases
After the phase transition, most of the arena becomes flooded, restricting safe movement to the raised platforms and grates.
Boss Behavior Profile
Hippokampos uses layered AoE mechanics that force players to reposition frequently across the platforms.
The encounter features:
• repeated raidwide damage
• shared tankbusters
• directional arena attacks
• knockback mechanics
• spread markers and stack markers
• movement restrictions from environmental hazards
Players must carefully manage positioning while maintaining awareness of limited safe areas.
Mechanic Archive
Murky Depths
Raidwide damage ability.
Player Response
• Party mitigation recommended
• Healers prepare to recover raid health.
Doubled Impact
Shared tankbuster AoE.
Player Response
• Both tanks stack together
• Other players must avoid the attack area.
Spoken Cataract
Directional attack combining two overlapping attack zones.
The attack consists of:
Head Strike
• Red ring indicator around the boss
• Hits everything in front of the boss
Body Strike
• Yellow ring indicator
• Creates a wide column attack across the arena
Safe areas appear on two of the four platforms.
Player Response
Players must stand:
• behind the red indicator
• to the side of the yellow indicator
The telegraph is very short, requiring quick identification of safe zones.
Sewage Deluge
Phase transition ability.
Effects:
• Raidwide damage
• Arena floods with water
• Most of the arena inflicts Dropsy damage over time.
Safe areas:
• four raised platforms
• narrow grates between platforms
Players must remain on these areas to avoid damage.
Predatory Sight
All players receive Mark of Easy Prey and red triangle markers.
When the debuff expires:
• players take unavoidable damage
• players not touching another player gain vulnerability.
Player Response
Players must stack with at least one other player before the debuff resolves.
Dissociation
Hippokampos detaches its head, which flies to the edge of the arena.
The head later performs a dive attack covering half of the arena during the boss’s next mechanic.
In Normal mode:
• head always moves to the north edge
• attack targets either east or west half of the arena.
Player Response
Players must identify which half of the arena will be struck and move accordingly.
Coherence
Combined flare + stack mechanic.
One tank receives:
• flare marker
One random non-tank receives:
• stack line marker
Player Response
• Raid stacks on the stack marker
• Marked tank moves away from the group
• Tank uses mitigation for the flare damage.
Sewage Eruption
Repeated targeted AoEs placed under most players.
This mechanic becomes dangerous when combined with:
• flooded arena from Sewage Deluge
• half-arena attack from Dissociation
Player Response
The party should stack briefly to group AoEs together before moving to safe space.
Shockwave
Hippokampos leaps to one of the corner platforms and performs a knockback attack.
Players are pushed away from the impact location.
Player Response
Players must avoid being knocked into:
• the arena edge
• flooded areas
• Dissociation dive attack zones.
Tainted Flood
Moving red AoE markers appear on multiple players.
The AoEs follow players as they move.
Player Response
Players must spread to avoid overlapping damage.
Safe spreading positions include:
• opposite corners of platforms
• platform + adjacent grate positions.
Mechanic Sequence Pattern
The Hippokampos encounter generally follows this structure:
↓
Spoken Cataract Positioning
↓
Sewage Deluge Arena Flood
↓
Predatory Sight Stack Mechanics
↓
Dissociation Half-Arena Attack
↓
Coherence Flare + Stack
↓
Sewage Eruption AoE Pressure
↓
Shockwave Knockback
↓
Tainted Flood Spread Mechanics
The encounter focuses heavily on platform movement and positional awareness as arena space becomes increasingly restricted.
Role Pressure Analysis
Tanks
Tanks must handle shared tankbusters and properly position the boss during directional attacks.
Healers
Healers must manage frequent raidwide damage and recover the party while movement restrictions limit positioning.
DPS
Damage dealers must maintain uptime while navigating platform movement and avoiding overlapping AoEs.
Failure Points
Common wipe causes include:
• incorrect positioning during Spoken Cataract
• players knocked into the arena edge by Shockwave
• insufficient spacing during Tainted Flood
• running out of safe space during Sewage Eruption.
Difficulty Profile
| Category | Rating |
|---|---|
| Mechanical Complexity | Medium |
| Movement Requirement | High |
| Coordination Requirement | Medium |
| Punishment Severity | Medium |
Hippokampos introduces the platform-based movement and layered mechanics used throughout the Asphodelos raid tier.
Related Encounters
← Back to Asphodelos Raid Tier
← Back to Endwalker Raid Archive
← Back to FFXIV Raid Archive