M4N Wicked Thunder Raid Guide – Arcadion Light-Heavyweight (FFXIV)
Expansion: Dawntrail
Raid Series: Arcadion
Raid Tier: Light-Heavyweight
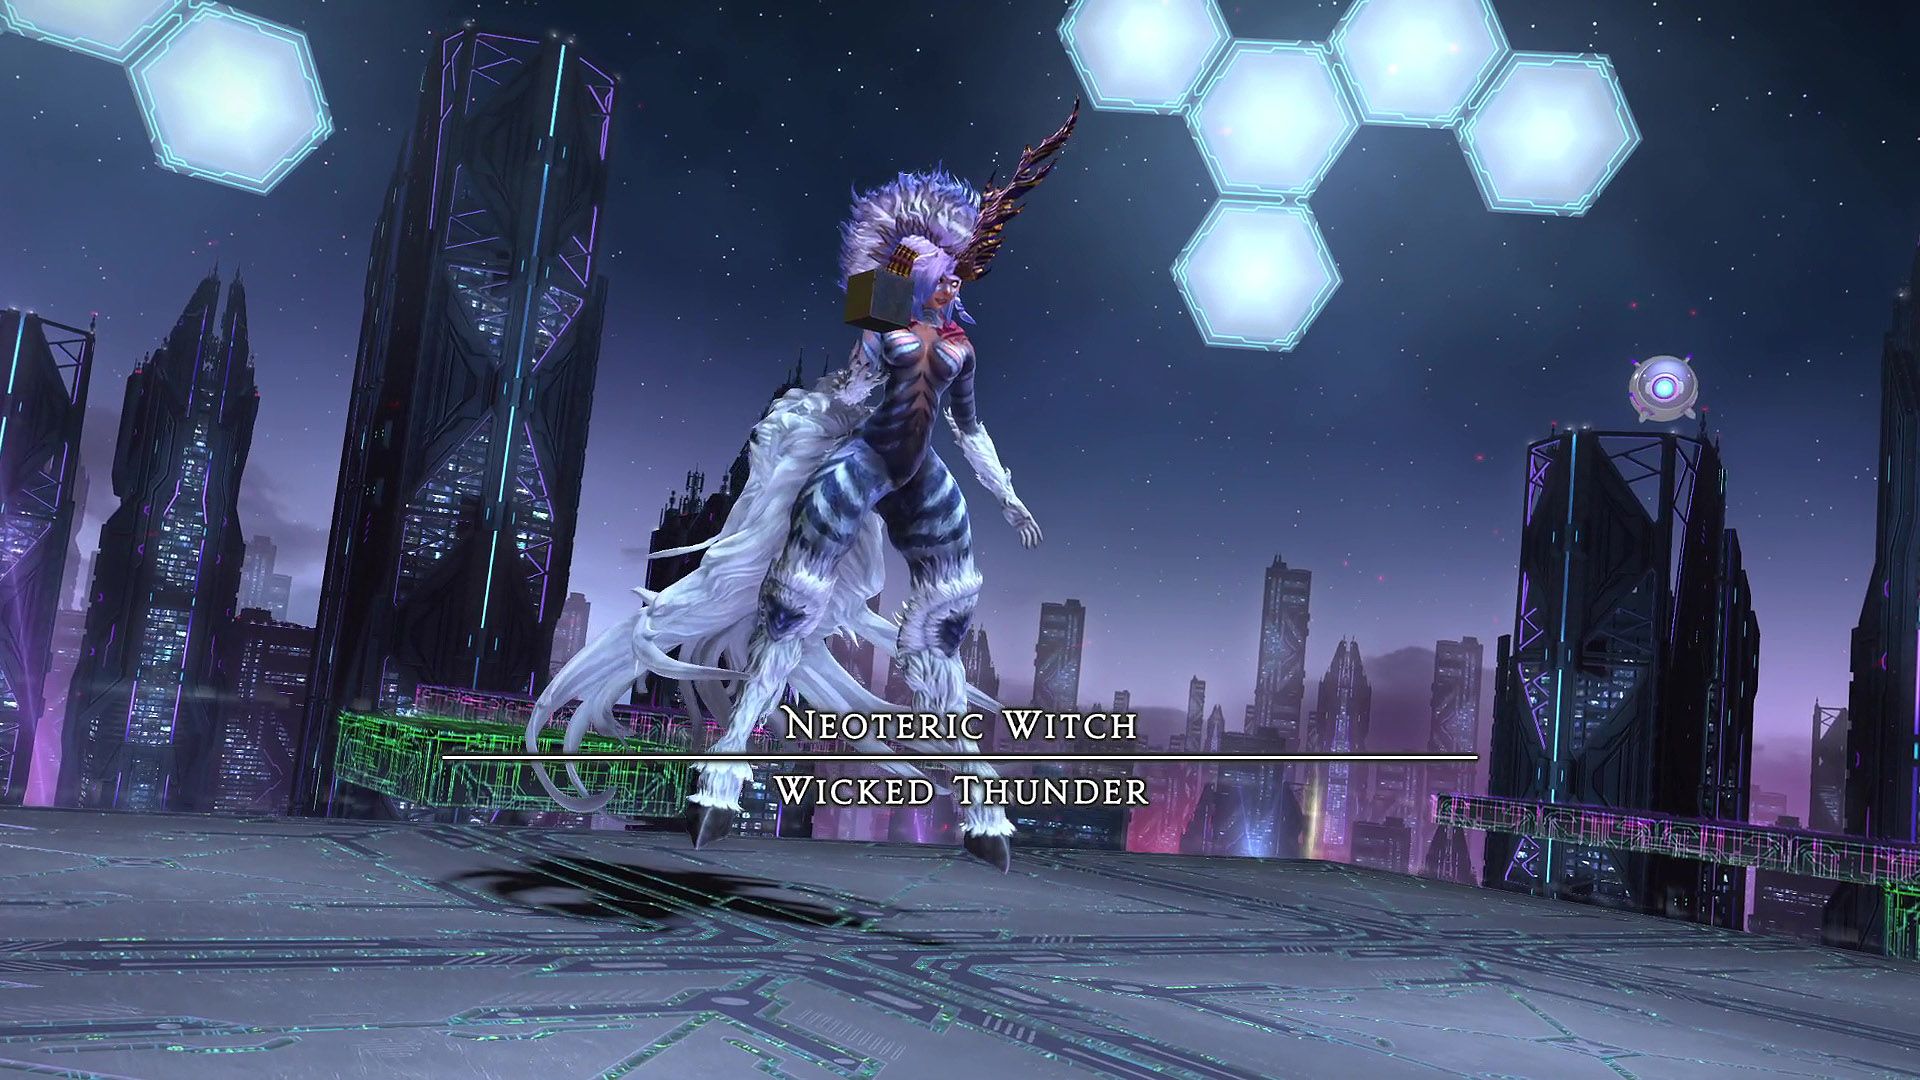
Boss: Wicked Thunder
Encounter: M4N
Players: 8 (2 Tanks / 2 Healers / 4 DPS)
Duty Finder Type: Normal Raid
Unlock Requirement: Arcadion Light-Heavyweight Progression
← Back to Arcadion Light-Heavyweight Raid Archive
Encounter Overview
Wicked Thunder is the final encounter of Arcadion: Light-Heavyweight (Normal).
The fight mixes directional cleaves, arena destruction mechanics, clone attacks, and complex line AoE patterns. Players must constantly reposition as the boss repeatedly alters the battlefield and forces the party into safe columns or narrow movement paths.
The arena is built on a 4×4 grid of tiles, which becomes important during cannon mechanics that destroy parts of the arena.
Players can fall off the arena to their deaths, and avoidable mechanics typically inflict Vulnerability Up or Sustained Damage.
Arena Overview
The battlefield consists of a 4×4 grid of square tiles.
Key hazards include:
• tiles destroyed by cannon attacks
• directional cleaves from clones
• line AoE patterns from wing mechanics
• falling off the arena if safe tiles are removed
Understanding the remaining safe columns is essential to surviving the cannon phases.
Mechanic Archive
Wrath of Zeus
Raid-wide magical damage.
Response
• mitigate raid damage
• heal through the hit
Sidewise Spark
The boss gathers lightning to one side of her body.
Spinning electrope cubes indicate which side will cleave.
This attack is a half-room cleave.
Response
• move to the safe half of the arena
The boss’s tail points toward the safe zone, which can help identify the correct position.
Shadows’ Sabbath
The boss summons clones using falling blue rings.
First Usage
A clone appears to the east or west of the center and performs a half-room cleave.
Shortly afterward a second clone appears on the opposite side and performs another cleave.
Later Usages
The boss rapidly summons four clones at the cardinal directions, each performing half-room cleaves in sequence.
After the fourth clone cleave, the boss performs Sidewise Spark.
Response
• follow the safe halves created by the clone cleaves
• reposition quickly between each cleave
Wicked Jolt
Line AoE magical tankbuster.
Response
• tank mitigates
• avoid standing in the line
Cannon Phase
The boss jumps to the north edge and summons a large cannon.
The cannon targets three columns of the arena with Stampeding Thunder, a multi-hit magical attack.
These hits deal moderate damage but do not apply vulnerability.
After the cannon barrage:
A delayed AoE destroys those three columns, causing players standing there to fall to their deaths.
Players must move into the remaining safe column.
Threefold Blast
Three alternating half-room cleaves using markers on the cannon.
The marker symbol (blue circle or orange triangle) only indicates the side of the cannon.
Response
• dodge the three sequential cleaves
Fourfold Blast
Four half-room cleaves with two side changes.
Response
• track the sequence and move accordingly
Fivefold Blast
Five half-room cleaves with three side changes.
Used during later cannon phases.
Afterward the boss may follow with:
Thunderslam
Baited circle AoEs targeting players.
Thunderstorm
Spread markers on each player.
Inflicts Lightning Resistance Down II, making overlaps lethal.
After the cannon phase concludes, the arena restores to the full 4×4 grid.
Wicked Bolt
Five-hit stack marker dealing magical damage.
Response
• stack together
• mitigate damage
Wing Phase
The boss equips electrope wings, unlocking new mechanics.
Bewitching Flight
The boss jumps north and fires five thin line AoEs across the arena.
Safe gaps exist between the lines.
After appearing, the lines leave purple lightning traces on the floor.
These traces later expand into wide Burst line explosions.
Response
• wait for the first line explosion
• move into the previously exploded line to dodge the next
During this mechanic:
• baited circle AoEs target players
The boss commonly follows this with Sidewise Spark.
Winged Shadows’ Sabbath
If Shadows’ Sabbath is used while the boss has wings:
• the boss summons a winged clone
The boss and clone move to adjacent walls and both perform Bewitching Flight.
This creates a cross-pattern of line AoEs.
Lines from each direction expand and explode in random order.
Response
• track the order of exploding lines
• move into previously exploded safe zones
Witch Hunt
Red circular AoEs spiral across the arena.
Inward Spiral
AoEs move toward the center.
Response
• start near the middle
• dodge toward the edge after the outer layer resolves
Outward Spiral
AoEs move away from the center.
Response
• start near the edge
• dodge toward the center
Soaring Soulpress
Stack marker dealing physical damage.
Response
• stack together to share damage
Final Phase – Hypercannon
When the boss drops below 20% HP, she summons the cannon again.
This time the cannon destroys all but one column of the arena.
The boss flies to the end of the remaining column and gains Directional Disregard, making her hitbox omnidirectional.
Wicked Hypercannon
Persistent split-damage line AoE hitting the entire remaining platform.
This acts as a soft enrage.
Between casts, the boss spawns baited circle AoEs on players.
The boss continues casting Wicked Hypercannon repeatedly until defeated or the party wipes.
Role Pressure Analysis
Tanks
Manage line tankbusters and maintain safe positioning during the cannon phases.
Healers
Handle frequent raid-wide damage and heavy healing during the Hypercannon soft enrage.
DPS
Must maintain uptime while handling rapid repositioning mechanics and line AoE patterns.
Difficulty Profile
| Category | Rating |
|---|---|
| Mechanical Complexity | Moderate |
| Movement Requirement | High |
| Coordination Requirement | Moderate |
| Punishment Severity | High |
Wicked Thunder focuses heavily on arena manipulation and pattern recognition, particularly during cannon phases and wing mechanics.
Related Encounters
← Back to Arcadion Light-Heavyweight
← Back to Dawntrail Raid Archive
← Back to FFXIV Raid Archive