M3S Brute Bomber Raid Guide – Arcadion Light-Heavyweight (FFXIV)
Expansion: Dawntrail
Raid Series: Arcadion
Raid Tier: Light-Heavyweight
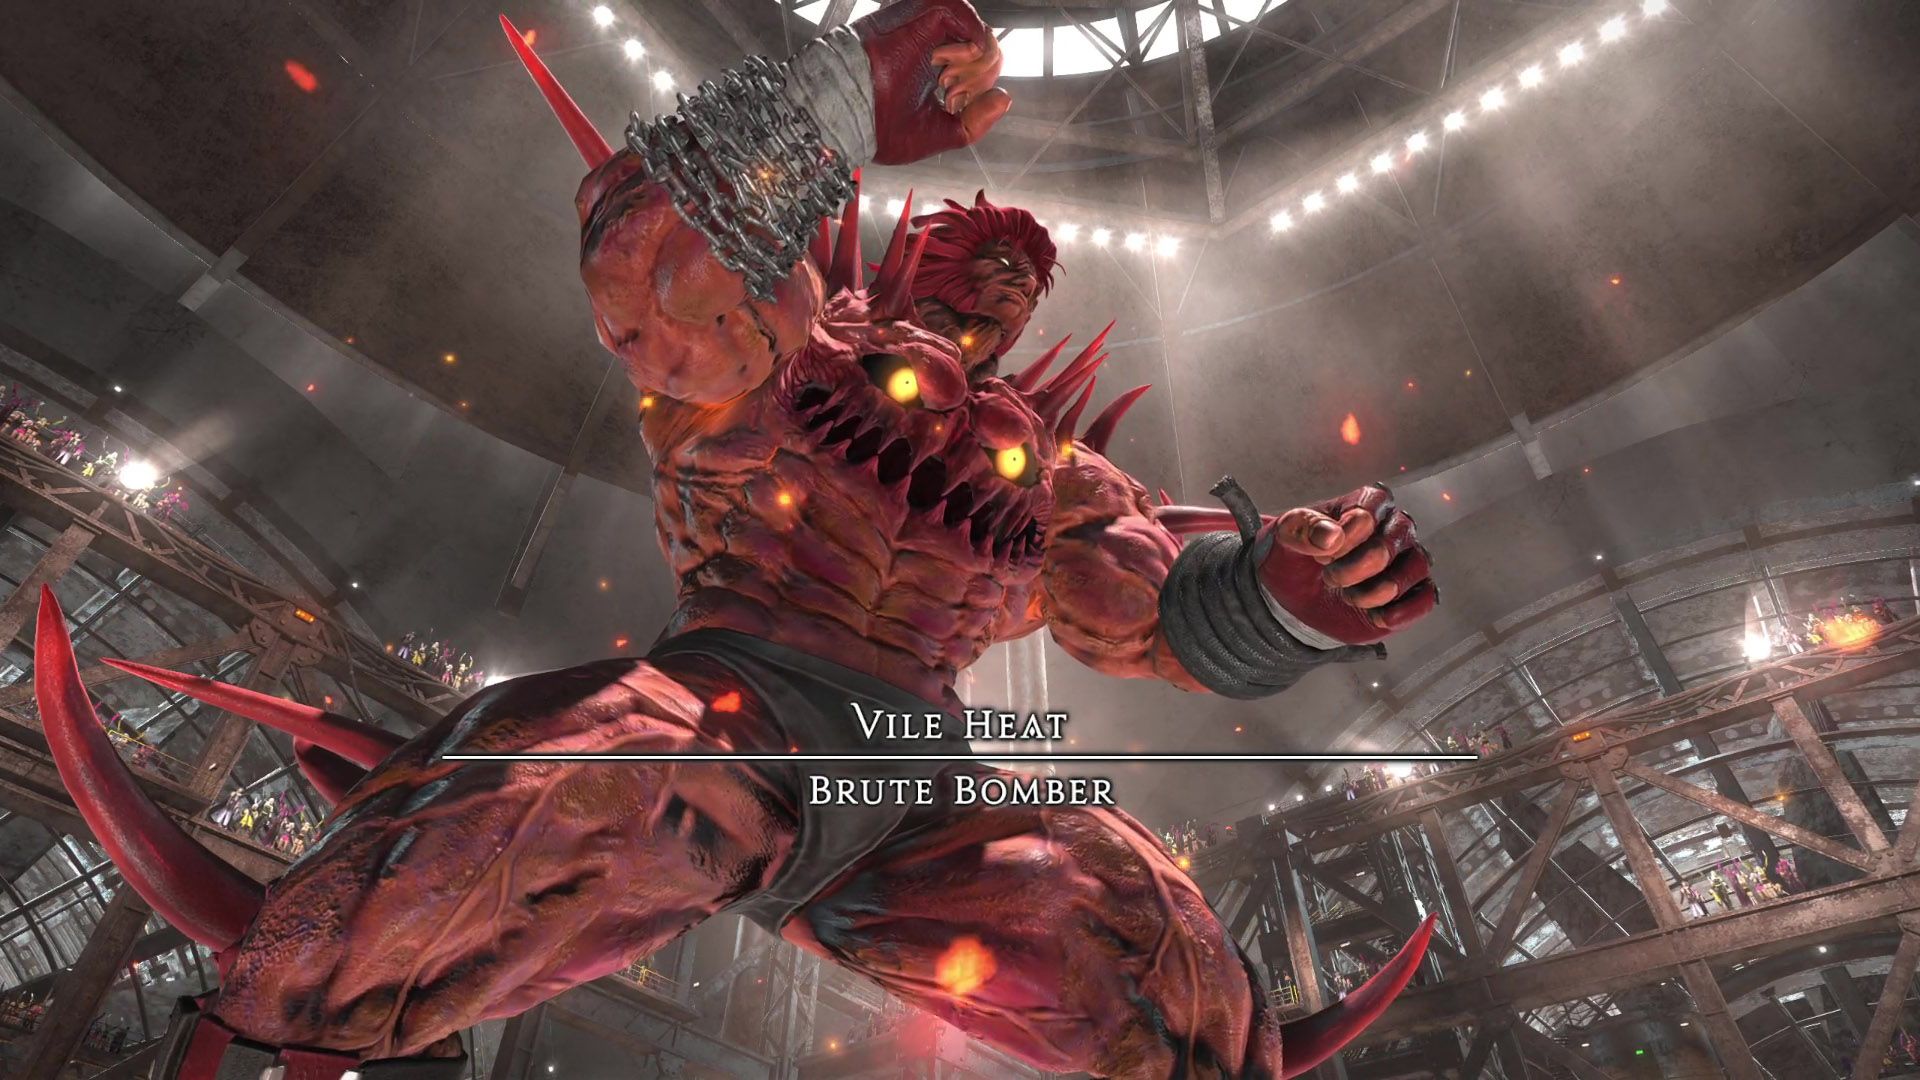
Boss: Brute Bomber
Encounter: M3S (Savage)
Players: 8 (2 Tanks / 2 Healers / 4 DPS)
Duty Finder Type: Savage Raid
Unlock Requirement: Clear M3N Brute Bomber
← Back to Arcadion Light-Heavyweight Raid Archive
Encounter Overview
Brute Bomber (Savage) expands heavily on the normal encounter with complex positioning mechanics, bomb fuse management, and multi-phase arena control.
The fight introduces:
• large-scale knockback tower puzzles
• clone dash mechanics
• player-based fuse detonations
• bomb disarm coordination
• chained mechanics requiring precise positioning
As the fight progresses, Doping Draught repeatedly enhances the boss and increases raid damage pressure.
The arena is surrounded by a fire barrier that instantly kills players who touch it, making knockback positioning critical.
Arena Overview
The arena is square and bordered by lethal fire.
Key arena elements include:
• tower knockback mechanics
• fuse bombs around the arena
• a central puddle during Fusefield
• safe-zone positioning during bomb patterns
Falling into the border results in immediate death.
Strategy Foundation
Before the encounter begins, the party should establish:
Clock Positions
• Tanks / Healers on cardinals
• DPS on intercardinals
Light Parties
• Tank + Melee DPS
• Healer + Ranged DPS
Several mechanics require partner stacks or role-based spreads.
Phase 1 Mechanics
Brutal Impact
Four hits of raid-wide physical damage.
Response
• use mitigation
• heal through hits
Knuckle Sandwich
Main tank tankbuster dealing four hits of physical damage.
Split-damage attack.
Response
• share between tanks with mitigation
OR
• main tank uses invulnerability
Each hit targets the highest enmity player, so threat changes can cause deaths.
Quadruple Lariat / Octuple Lariat
The boss simultaneously casts a point-blank AoE, forcing players out of melee range.
Quadruple Lariat
Conal AoE targeting all supports or all DPS.
Players must stack with their assigned partner.
Octuple Lariat
Conal AoE targeting all players.
Players must spread to clock positions.
Both attacks inflict Physical Vulnerability Up.
Quadroboom Dive / Octoboom Dive
The boss jumps to a wall and deals proximity damage.
Quadroboom Dive
Split damage circle AoE targeting all supports or DPS.
Players stack with partners.
Octoboom Dive
Circle AoE on all players.
Players spread.
Barbarous Barrage
Six knockback towers spawn.
Tower Structure
• Middle towers → require 4 players
• Corner towers → require 2 players
Middle towers resolve first.
After knockback, players are pushed toward the corner towers.
Afterward:
• an 8-person tower spawns in the center
Players must aim their knockback toward it.
The boss then casts Murderous Mist, a 270-degree cleave.
Players should be knocked behind the boss.
Doping Draught
The boss gains Dangerously Doped.
Effects:
• +10% damage
• enhanced mechanics for the rest of the encounter
Phase 2 Mechanics
Enhanced Lariat
The boss may be on fire, altering the mechanic.
Instead of a point-blank AoE, the boss uses a donut AoE.
Players must stay inside melee range.
Enhanced Dive
The dive now produces a knockback instead of proximity damage.
Players should:
• pre-position
• use knockback immunity
Brutal Impact (Enhanced)
Now six hits of raid-wide damage.
Knuckle Sandwich (Enhanced)
Now six hits.
Invulnerability should be used late in the cast bar.
Tag Team
Two Brute Distortion clones appear.
Each player receives:
Chain Deathmatch
Players must be hit by their tethered clone to cleanse the debuff.
Clones perform Brutal Lariat dashes covering two-thirds of the arena.
Players must:
• be hit by their tethered clone
• avoid the other clone
After the first dash:
• clones dash again
Safe corner is the one initially hit by both dashes.
Final Fusedown
Eight bombs spawn.
Players also receive short or long fuses.
Supports and DPS receive opposite fuse lengths.
Players explode with Explosion, applying Magic Vulnerability Up.
Bomb Pattern
Two possible layouts:
• long fuses NE corner
• long fuses SW corner
Resolution
Short fuse players:
• spread near long bombs
Long fuse players:
• stack in the center safe diamond
After short explosions resolve:
Roles swap positions to resolve long fuses.
Fusefield
Bomb fuses appear on cardinals and intercardinals.
Players receive Bombarium debuffs (short or long duration).
Each fuse creates a Sinister Spark moving toward the center puddle.
If a spark reaches the puddle:
Raid wipe.
Players must disarm sparks matching their debuff timer.
Each disarm triggers:
Mana Explosion raid damage
Explosions must be spaced to avoid lethal stacking damage.
Second Doping Draught
Boss gains:
• second Dangerously Doped stack
• Doped and Detonative buff
• enlarged hitbox
Phase 3 Mechanics
Bombarian Special
Five hits of raid-wide physical damage.
Followed by:
• point-blank AoE
• donut AoE
Players must:
-
move out
-
move in
Boss then performs large knockback belly flop.
Players are knocked toward corners.
Then resolve:
• partner stacks (Quadroboom)
• spreads (Octoboom)
Tag Team + Bomb Pattern
Bombs spawn again.
Players must:
• dodge short bombs
• cleanse Chain Deathmatch from clone and boss
Players must be hit by:
• their clone dash
• the boss’s 270° cleave
Failure causes death.
Infernal Spin
Rotating cone AoE.
Two sets of expanding Explosive Rain donut AoEs appear.
Players dodge by moving into the first cone section.
During fuse ignition:
• tanks/melee spread cardinals
• healers/ranged spread intercardinals
Barbarous Barrage (Final)
Towers resolve similarly to Phase 1.
However, the boss also performs Lariat Combo dashes.
Players must position knockbacks to avoid the cleave direction.
Third Doping Draught
Boss gains:
• third Dangerously Doped stack
• enlarged hitbox
Enrage
Special Bombarian Special
Heavy raid-wide damage sequence.
Players must dodge:
• point-blank AoE
• donut AoE
Afterwards the boss becomes untargetable and wipes the party with an unavoidable knockback.
Role Pressure Analysis
Tanks
Heavy tankbusters and positioning responsibility during knockback towers.
Healers
Frequent raid-wide damage and stacked Mana Explosion damage.
DPS
Fuse management and positioning precision are critical to prevent chain wipes.
Difficulty Profile
| Category | Rating |
|---|---|
| Mechanical Complexity | Very High |
| Movement Requirement | Very High |
| Coordination Requirement | Very High |
| Punishment Severity | Extreme |
M3S is the mechanical centerpiece of the Light-Heavyweight tier, combining bomb mechanics with positional puzzles.
Related Encounters
← Back to Arcadion Light-Heavyweight
← Back to Dawntrail Raid Archive
← Back to FFXIV Raid Archive