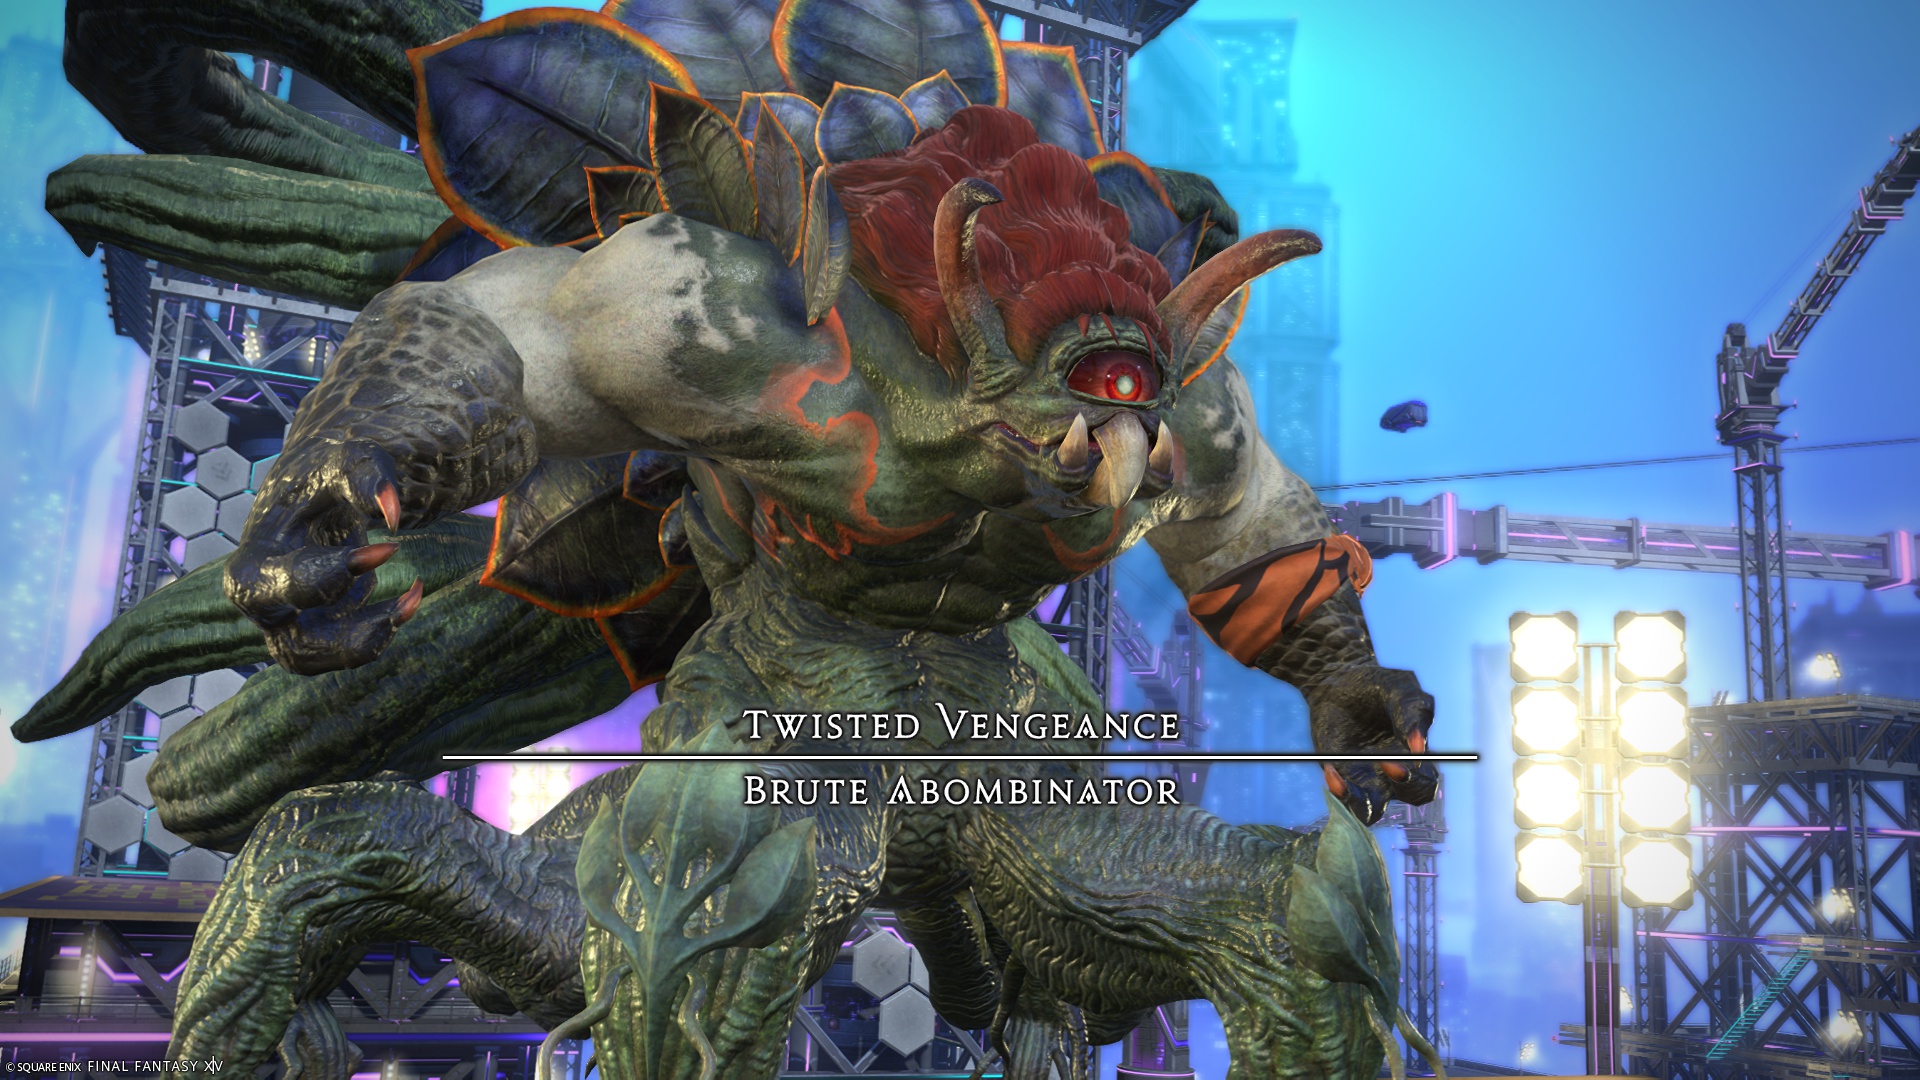
M7N Brute Abominator Raid Guide – Arcadion Cruiserweight (FFXIV)
Expansion: Dawntrail
Raid Series: Arcadion
Raid Tier: Cruiserweight
Boss: Brute Abominator
Encounter: M7N
Players: 8 (2 Tanks / 2 Healers / 4 DPS)
Duty Finder Type: Normal Raid
Unlock Requirement: Arcadion Cruiserweight Progression
← Back to Dawntrail Raid Archive
Encounter Overview
Brute Abominator is the third encounter of Arcadion: Cruiserweight.
The fight is divided into three phases, each using a different arena and expanding on the boss’s core weapon-storage mechanic. Brute Abominator alternates between storing point-blank and donut AoEs, then combining them with movement, add pressure, and line-cleave mechanics.
The encounter focuses on:
• stored weapon AoEs
• add management
• hide-behind survival mechanics
• pillar and wall movement
• arena transitions across all three phases
Players can fall from the arena to their deaths in the first two phases.
Arena Overview
The encounter uses three separate arenas.
Phase 1
Standard platform with lethal fall zones.
Phase 2
Long rectangular arena with three large pillars:
-
north
-
northeast
-
southwest
Phase 3
Arena surrounded by lethal fire, with walls on each cardinal that the boss can attach to.
Each phase changes how players resolve the boss’s stored weapon mechanics.
Boss Behavior Profile
Brute Abominator is built around weapon storage and delayed resolution.
The encounter features:
• raidwide physical and magical damage
• split tankbusters
• add spawns
• hide-behind petrification mechanics
• proximity explosions
• pillar and wall dashes
• large stack towers
The fight constantly asks players to track which weapon is stored, where the boss will move next, and which safe zone will remain afterward.
Mechanic Archive
Phase 1
Brutal Impact
Three hits of physical raidwide damage.
Player Response
• mitigate and heal through all three hits
This attack gains additional hits in later phases.
Stoneringer: The Bludgeoning
The boss spawns a club, storing a point-blank AoE for later.
Stoneringer: The Stabbing
The boss spawns a sword, storing a donut AoE for later.
Players must remember which weapon is currently stored because it resolves immediately after later mechanics.
Brutish Swing
The off-tank receives a split-damage physical tankbuster (Brutal Smash).
This resolves immediately after the stored club or sword AoE.
Player Response
• off-tank stacks with the main tank
• resolve the stored point-blank or donut first, then the tankbuster
Spore Sac
Four circular AoEs appear and spawn spores.
The spores extend in two directions, creating additional circular AoEs (Pollen).
At the same time, the boss uses Pulp Smash.
Pulp Smash
Stack marker AoE on a random player dealing physical damage.
After the stack resolves, the location gains:
• a dark red circle AoE telegraph
• eight cone AoEs radiating outward
Player Response
• stack together on the marked player
• quickly reposition out of the follow-up circle and cone pattern
Blooming Abomination Adds
Adds spawn from the spore sacs.
They should be defeated with AoE damage.
Three adds use Crossing Crosswinds:
• plus-shaped line AoEs
One add uses Winding Wildwinds:
• large donut AoE
These casts can be interrupted to create more space, but this is optional.
When defeated, the adds leave corpses behind.
Quarry Swamp
Raidwide AoE that inflicts Stone Curse.
Stone Curse petrifies the player, and any damage taken afterward is lethal.
To survive, players must hide behind a living or dead Blooming Abomination.
Any living adds hit by Quarry Swamp are petrified and can then be killed instantly by any follow-up attack.
Player Response
• move behind an add corpse or surviving add
• do not remain exposed
Explosion
Three proximity AoEs appear in a triangular pattern, rotating either clockwise or counterclockwise.
Player Response
• begin opposite the first explosion
• rotate away from each blast in the correct direction
• stay as far away as possible, since falloff is strict
Neo Bombarian Special
Physical raidwide damage followed by a forced knockback off the platform.
Players must stand at the north cardinal edge to be launched safely toward the Phase 2 platform.
Phase 2
Attached Pillar State
At the start of Phase 2, the boss attaches to the north pillar.
While attached to a pillar, the boss gains Directional Disregard and its hitbox becomes omnidirectional.
Stoneringer: The Bludgeoning + Brutish Swing
Functions similarly to Phase 1, but only the stored point-blank AoE resolves here rather than a tankbuster sequence.
Stoneringer: The Stabbing + Brutish Swing
The boss spawns a sword and tethers the southwest pillar, moving there before resolving the donut AoE.
Player Response
• reposition toward the tethered pillar
• avoid standing too near the edge if using gap closers, or you may fall off
Glower Power
Telegraphed line AoE in front of the boss plus spread markers on all players.
Deals magical damage.
Player Response
• avoid the line in front of the boss
• spread to assigned spots
Abominable Blink
One tank receives a flare marker.
This is both a tankbuster and a distance-based AoE.
Player Response
• marked tank moves far from the party
• corner positions near melee range are common placements
• mitigate heavily
Revenge of the Vines
Raidwide magical damage.
Later uses may be instant and combined with other mechanics.
Stoneringer: The Stabbing + Sporesplosion + Brutish Swing
The boss stores a sword and tethers the northeast pillar while spawning three sets of circular AoEs.
Players must move toward the northeast pillar while dodging the circles to avoid being trapped by the later donut AoE.
Powerslam
Raidwide physical damage that destroys the Phase 2 arena.
Players fall into the Phase 3 arena.
Phase 3
The arena is now bordered by lethal fire instead of open air.
Each cardinal has a wall that the boss can attach to.
Stoneringer 2
The boss now spawns both a club and a sword.
One weapon will glow later, indicating which stored AoE resolves first after the boss attaches to a wall.
Spore Sac + Brutish Swing
Functions similarly to earlier phases, but now combines with:
• a glowing weapon that determines point-blank or donut resolution
• an immediate Revenge of the Vines raidwide
Blooming Abomination adds also spawn again and should be killed quickly.
Lashing Lariat
One arm glows, indicating that side of the arena will be hit by a large line cleave.
Only about one-third of the arena remains safe.
The boss then travels to the opposite wall and later uses the stored remaining weapon AoE.
Player Response
• move into the safe third of the arena
• prepare for the next wall movement and stored AoE
Slaminator
Large central tower with a stack marker.
Deals heavy physical damage.
Player Response
• full party stacks in the tower
Immediately afterward the boss uses Quarry Swamp, so players must then hide behind dead add corpses.
Brutal Impact (Phase 3)
Now hits six times instead of three.
Player Response
• heavy mitigation and healing required
Stoneringer 2 – Variant 2
The boss again spawns both a club and a sword, but the sequence changes:
-
boss jumps to first wall
-
uses Glower Power
-
performs Lashing Lariat
-
moves to opposite wall
-
resolves Brutish Swing while moving to an adjacent wall
-
follows with an instant Revenge of the Vines
-
uses Slaminator again
This is the most mechanics-dense loop of the encounter.
Mechanic Sequence Pattern
Stored weapon AoE
↓
Tankbuster / stack / spores
↓
Adds
↓
Hide-behind Quarry Swamp
↓
Proximity explosions
↓
Forced knockback transition
Phase 2:
Stored pillar movement AoEs
↓
Line + spread
↓
Tank flare
↓
Stored sword + circle dodges
↓
Arena destruction
Phase 3:
Dual weapon storage
↓
Spores + raidwide
↓
Wall cleaves
↓
Tower stack
↓
Hide-behind Quarry Swamp
↓
Repeat enhanced loop
The fight rewards players who track the stored weapon order and prepare for the next arena attachment before it happens.
Role Pressure Analysis
Tanks
Tanks handle split tankbusters, flare positioning, and must maintain stable boss placement during pillar and wall transitions.
Healers
Healers manage mixed physical and magical raidwides, recovery after Slaminator, and high pressure during multi-hit Brutal Impact in Phase 3.
DPS
DPS must help clear Blooming Abominations quickly while maintaining movement discipline through the three arena transitions.
Failure Points
Common wipes happen from:
• forgetting whether the stored weapon is a point-blank or donut
• failing to hide correctly for Quarry Swamp
• poor positioning near the arena edge during pillar movement
• missed add interrupts or slow add kills
• standing in the wrong safe third during Lashing Lariat
Difficulty Profile
| Category | Rating |
|---|---|
| Mechanical Complexity | High |
| Movement Requirement | High |
| Coordination Requirement | Moderate |
| Punishment Severity | High |
Brute Abominator is a multi-phase positioning fight that heavily punishes players who lose track of the stored weapon state.
Encounter Intelligence Summary
M7N – Brute Abominator is the most structurally varied encounter in Arcadion Cruiserweight, changing arenas three times and repeatedly asking players to solve the same core problem in new ways.
Groups that track the stored club/sword mechanic cleanly and treat Quarry Swamp as the central survival check will stabilize this fight much faster than groups that try to react late.
Related Encounters
← Back to Arcadion Cruiserweight
← Back to Dawntrail Raid Archive
← Back to FFXIV Raid Archive