M6S Sugar Riot Raid Guide – Arcadion Cruiserweight (FFXIV)
Expansion: Dawntrail
Raid Series: Arcadion
Raid Tier: Cruiserweight
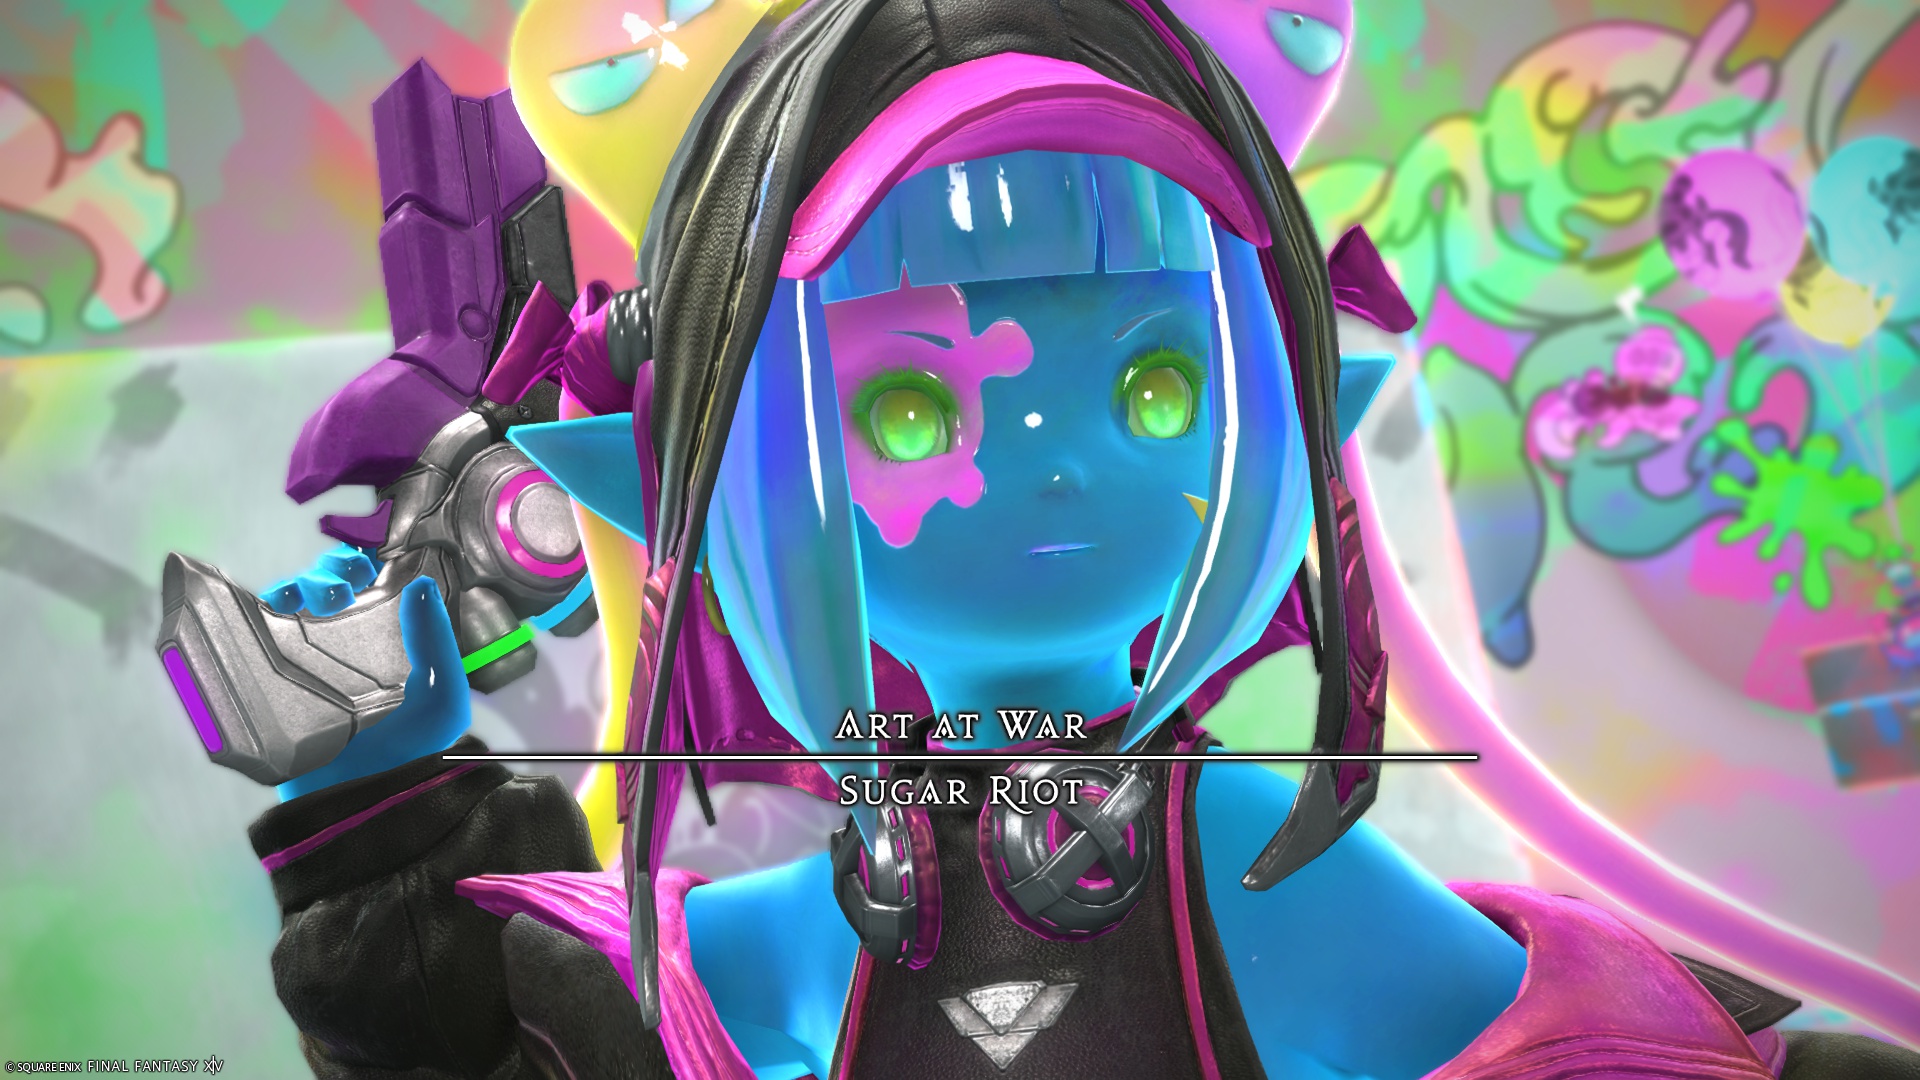
Boss: Sugar Riot
Encounter: M6S
Players: 8 (2 Tanks / 2 Healers / 4 DPS)
Duty Finder Type: Savage Raid
Unlock Requirement: Complete M6N – Sugar Riot
← Back to Dawntrail Raid Archive
Encounter Overview
Sugar Riot (Savage) expands heavily on the mechanics introduced in the normal version of the encounter.
The fight revolves around three primary systems:
• Color mechanics that permanently assign players warm or cool vulnerability types
• Arena transformations that create environmental hazards
• Heavy add-phase coordination requiring target prioritization
Players must coordinate positioning through structured assignments including:
• clock spreads
• light party stacks
• partner pairings
The arena is surrounded by a lethal boundary that instantly kills players who touch it.
Failure to resolve mechanics typically inflicts Damage Down rather than vulnerability stacks, heavily reducing raid DPS.
Arena Overview
The arena is a square platform surrounded by a lethal death wall.
During the fight the arena transforms multiple times using Sugarscape, creating environmental hazards including:
• quicksand fields
• water channels and bridges
• lava zones
• lightning hazards
Players must continuously reposition as terrain changes.
Core Mechanics
Mousse Mural
High raid-wide magical damage.
Response
• mitigation and healing required
Color Riot
Two tankbusters occur simultaneously:
• nearest player hit by raised gun
• farthest player hit by lowered gun
Each attack applies a permanent color vulnerability.
Warm Tint → from orange gun
Cool Tint → from blue gun
Tanks must ensure they later soak tankbusters of the opposite color to avoid lethal damage.
Color Clash Mechanic Set
Wingmark
All players receive a Wingmark debuff.
When the debuff expires players are launched across the arena.
Positioning before the knockback determines landing locations.
Color Clash
The boss fires paint into the air.
Number of shots determines stack type:
2 shots → light party stacks
4 shots → partner stacks
Stacks resolve shortly after Double Style.
Double Style
The boss paints two hazards simultaneously.
Possible hazards include:
Bombs
Winged Bombs
Succubi
Morbols
Bombs create large circular AoEs.
Winged bombs travel across the arena before exploding.
Succubi create defamation explosions.
Morbols create expanding cone attacks.
Players must identify the safe inter-cardinal zone before Wingmark launches the party.
Sticky Mousse
Two random players receive point-blank AoEs.
Affected players gain Mousse Minne, binding them in place.
After the bind expires they explode with a stack mechanic.
Response
• players stack with their light party
• adjust if both targets are in the same party
Desert Phase
Sugarscape – Desert
The arena becomes sand.
All players receive Sweltering, a damage-over-time effect.
Heating Up / Burning Up
Players receive timed debuffs that explode when they expire.
Short Heating Up → tank + DPS
Long Heating Up → both healers
Burning Up → stack marker on a DPS
Correct positioning ensures explosions do not overlap.
Layer 1 – Cacti
Cacti grow and explode across the arena.
Players must dodge multiple waves while managing debuffs.
Layer 2 – Quicksand
Most of the arena becomes quicksand.
Only the corners remain safe.
Cacti explosions overlap with this hazard.
Desert Double Style
Players tether to bombs or winged bombs.
Bomb targets must spread in quicksand.
Winged bomb players aim bombs into the quicksand so explosions are absorbed.
Adds Phase – Soul Sugar
Multiple waves of enemies spawn.
Each add has unique mechanics and priority.
Add Types
Mus
Moderate damage enemies that enrage if alive too long.
Yans
Heavy auto attack damage.
Damage increases if near Mus.
Gimme Cats
Jump around the arena and eventually perform large point-blank AoEs.
Feather Rays
Tether players and spawn persistent puddles.
Jabberwocks
Bind a healer and move toward them.
Instantly kill the healer on contact.
Add Priority
-
Jabberwock
-
Feather Ray
-
Gimme Cat
-
Mus / Yans
Correct positioning allows AoE damage to cleave multiple targets simultaneously.
After the final wave the party receives Limit Break 3.
Bridge Phase
Sugarscape – River
The arena becomes grass divided by water channels connected by bridges.
Standing in water changes elemental resistance.
Double Style (River)
Players resolve fire stack or lightning spread mechanics.
Lightning spreads → avoid water
Fire stacks → stand in water
Lightning Layer
Storm clouds and lightning AoEs appear.
Players marked by lightning must strike grassy platforms.
Each strike damages the entire platform.
Bridges remain the only safe areas.
Pudding Party
Five-hit stack marker requiring heavy mitigation.
Lava Layer
The arena floods with lava and destroys bridges.
Players separate across remaining platforms.
Mousse Drip
Stack markers placed on the two furthest players.
Each stack leaves damaging puddles.
Moussacre
Cone attacks aimed at the closest players.
Melee must spread carefully to avoid hitting ranged players.
Wingmark Tower Mechanic
Players receive Wingmark again.
Towers spawn on platforms.
Players must position so the knockback sends them toward the correct towers.
Lightning AoEs must be baited away from towers before soaking them.
Finale
The fight repeats the Sticky Mousse + Color Clash mechanic set.
Shortly afterward the boss casts the enrage ability:
Artistic Anarchy
If the boss is not defeated before this cast finishes, the party wipes.
Role Pressure Analysis
Tanks
Handle color-based tankbusters and maintain enemy positioning during the add phase.
Healers
Manage heavy raid damage during arena phases and stabilize players hit by debuffs.
DPS
Responsible for correct positioning during Color Clash mechanics and quickly eliminating add waves.
Difficulty Profile
| Category | Rating |
|---|---|
| Mechanical Complexity | Very High |
| Movement Requirement | High |
| Coordination Requirement | Very High |
| Punishment Severity | Very High |
Sugar Riot Savage demands strict positioning discipline and high coordination during both the Color Clash sequences and the add phase.
Related Encounters
← Back to Arcadion Cruiserweight
← Back to Dawntrail Raid Archive
← Back to FFXIV Raid Archive