The Minstrel’s Ballad: Zodiark’s Fall Trial Guide
Duty Information
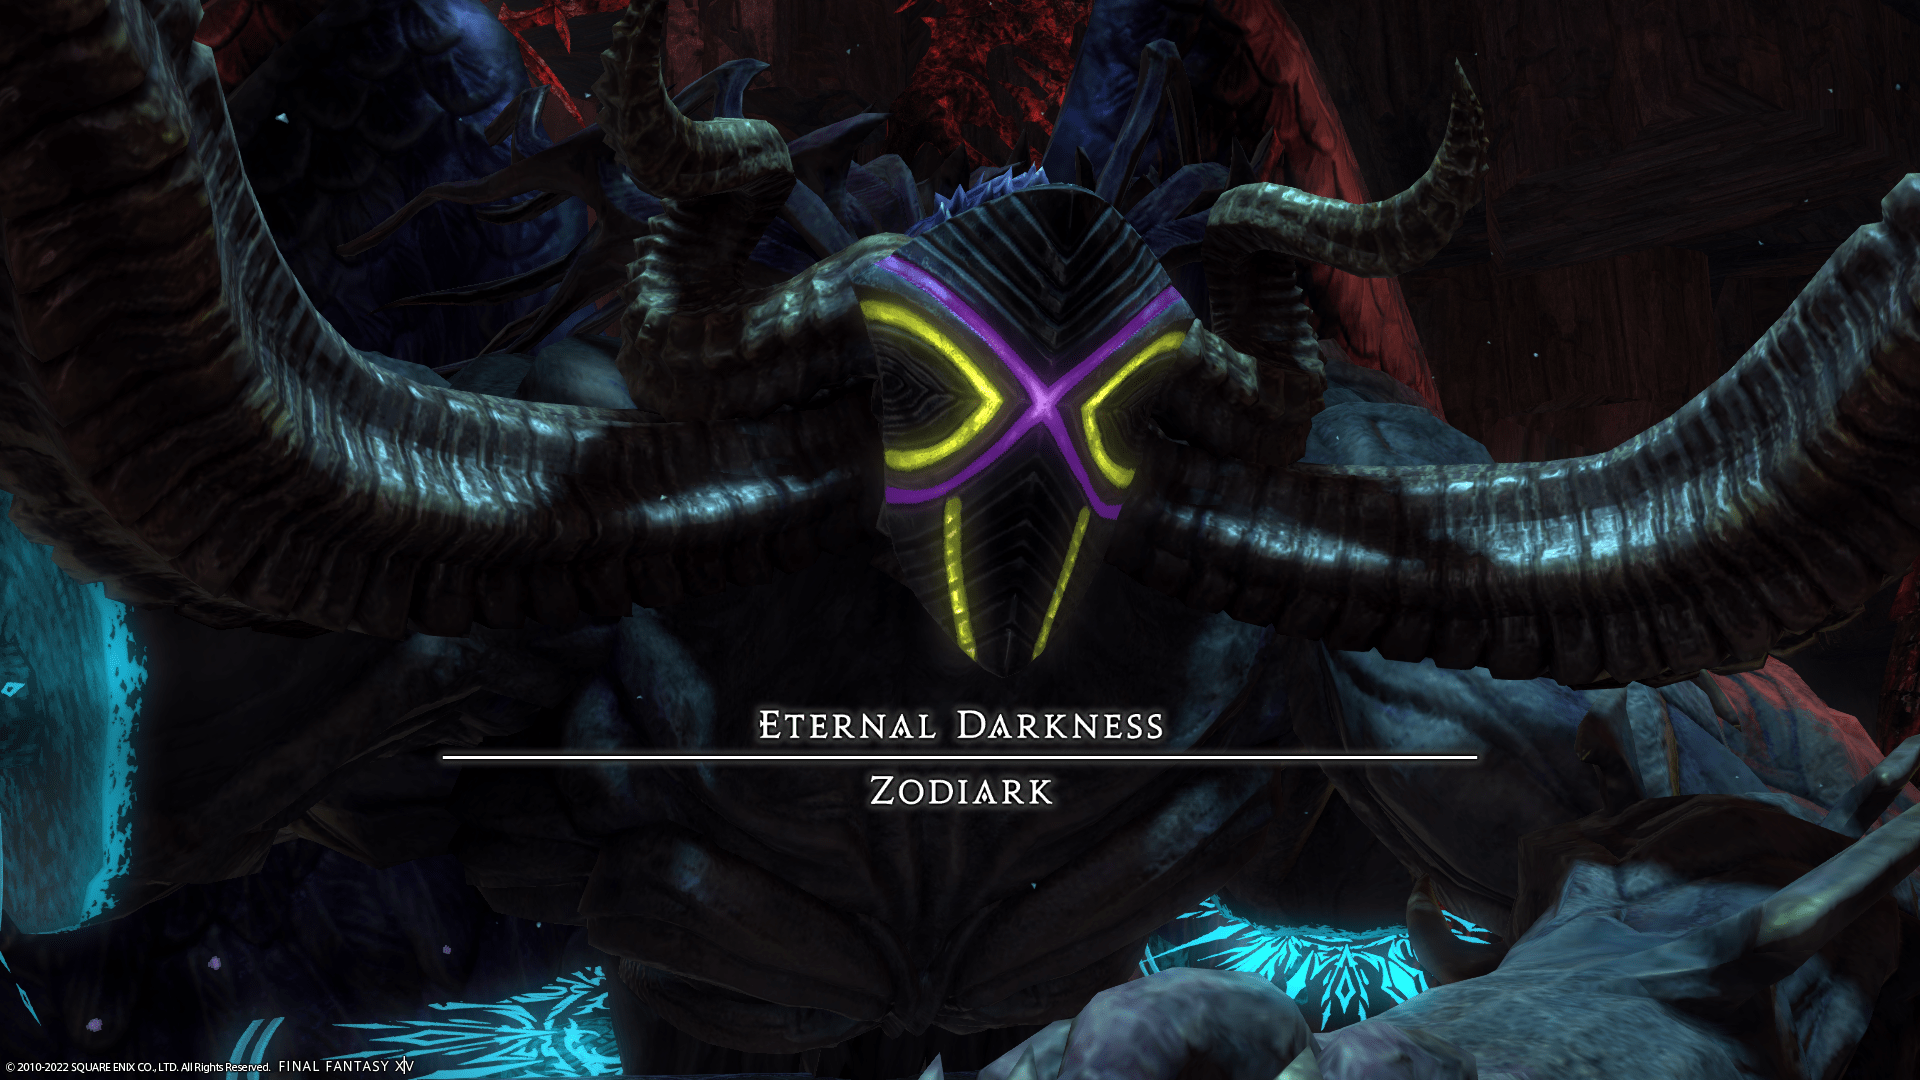
Expansion: Endwalker
Encounter: The Minstrel's Ballad: Zodiark's Fall
Players: 8 (Tank / Tank / Healer / Healer / DPS / DPS / DPS / DPS)
Duty Finder Type: Trial
Level: 90
Item Level: 560
Unlock Requirement: I Wandered Sharlayan as a Minstrel


Encounter Overview
The Minstrel’s Ballad: Zodiark’s Fall is the Extreme version of the Endwalker trial against Zodiark. This encounter is highly dynamic, requiring players to react to randomized mechanics rather than follow a fixed sequence. The fight emphasizes fast recognition, coordinated movement, and strong group positioning.
Unlike many trials, most mechanics can be resolved with tight group stacking and coordinated movement. Players often benefit from following a designated lead to navigate mechanics cleanly. Compared to later Endwalker trials like The Abyssal Fracture, this fight is less mechanically dense but more reactive and movement-focused.
For a full breakdown of where this fight ranks among Extreme trials, check the FFXIV Trial Rankings.
Arena Overview
The arena is a square platform with no barriers, meaning players can fall off and be instantly killed. Many mechanics involve knockbacks or forced movement, making edge awareness critical throughout the encounter.
The arena is effectively divided into a 3×3 grid during certain mechanics, especially during Astral Eclipse. Players should maintain awareness of both their current position and upcoming safe zones.
Mechanic Archive
Kokytos
Reduces all players to 1 HP. Immediate group healing is required to recover before follow-up damage. Staying stacked helps healers recover the group quickly.
Paradeigma
Summons various adds that create AoE patterns:
- Behemoths: Large quadrant AoEs
- Snakes: Line AoEs covering sections of the arena
- Quetzalcoatl: Donut AoEs with small safe zones beneath them
Players should identify safe zones quickly and move as a group to minimize confusion.
Styx
A multi-hit stack mechanic. The party must remain tightly grouped for all hits. Moving early will result in deaths.
Ania
A tankbuster that applies Vulnerability Up, requiring a tank swap. Tanks should move away from the group and coordinate swaps cleanly.
Exoterikos
Creates rune-based AoEs with different shapes:
- Triangle: Large cone AoE
- Square: Half-arena AoE
Players must identify both shape and position to determine safe zones. This often overlaps with other mechanics, increasing difficulty.
Algedon
Zodiark charges across the arena in a wide diagonal AoE. Players must identify his starting position and move accordingly. Being hit can knock players off the platform.
Phobos
Raidwide damage that applies a heavy bleed. Healers should prioritize recovery before the next mechanic.
Astral Flow
Rotates the arena and active mechanics. Players must mentally adjust safe zones after rotation. Not all elements rotate, making this a key awareness check.
Adikia
Large circular AoEs on east and west sides, leaving narrow safe zones north and south. Position carefully to avoid overlap.
Esoteric Pattern (Adds Phase)
Rune combinations create layered AoE patterns. Players must identify safe zones based on triangle, square, and line AoEs. Movement should be precise and minimal.
Astral Eclipse
Star patterns determine safe zones in a 3×3 grid. Players must interpret patterns quickly and move to safe tiles. This is one of the most execution-heavy mechanics in the fight.
Triple Esoteric Ray
Sequential line AoEs that require repositioning between hits. Players must move immediately after each resolution to avoid the next.
Fire Wall + Rotation (Phase 4)
A diagonal fire wall rotates with the arena. Players must account for both rotation and flame positioning when determining safe zones.
Phlegethon
Sequential AoEs placed under players. Move together as a group to avoid overlapping damage while maintaining positioning for follow-up mechanics.
Encounter Flow
Phase One
The fight begins with Kokytos, forcing immediate recovery. Paradeigma and Styx establish the core rhythm of add-based movement and stacking.
Mechanics begin layering with Exoterikos, Algedon, and Astral Flow. Players must adapt to rotations while maintaining awareness of non-rotating elements.
The phase ends with combinations involving Adikia and additional add patterns, testing positioning discipline and group coordination.
Phase Two (Adds)
Players must defeat orbs while resolving Esoteric Pattern AoEs. Safe zone identification is critical. Failure to clear adds results in a wipe.
Phase Three
Astral Eclipse introduces grid-based movement. Players must interpret star patterns and move quickly between safe tiles. This phase heavily rewards preparation and pattern recognition.
Phase Four
The final phase combines all previous mechanics with added complexity from rotating fire walls. Players must resolve Paradeigma, Exoterikos, and Astral Flow simultaneously.
Late mechanics such as Phlegethon and repeated Styx require strong group coordination and healing. The fight ends with an enrage if not defeated in time.