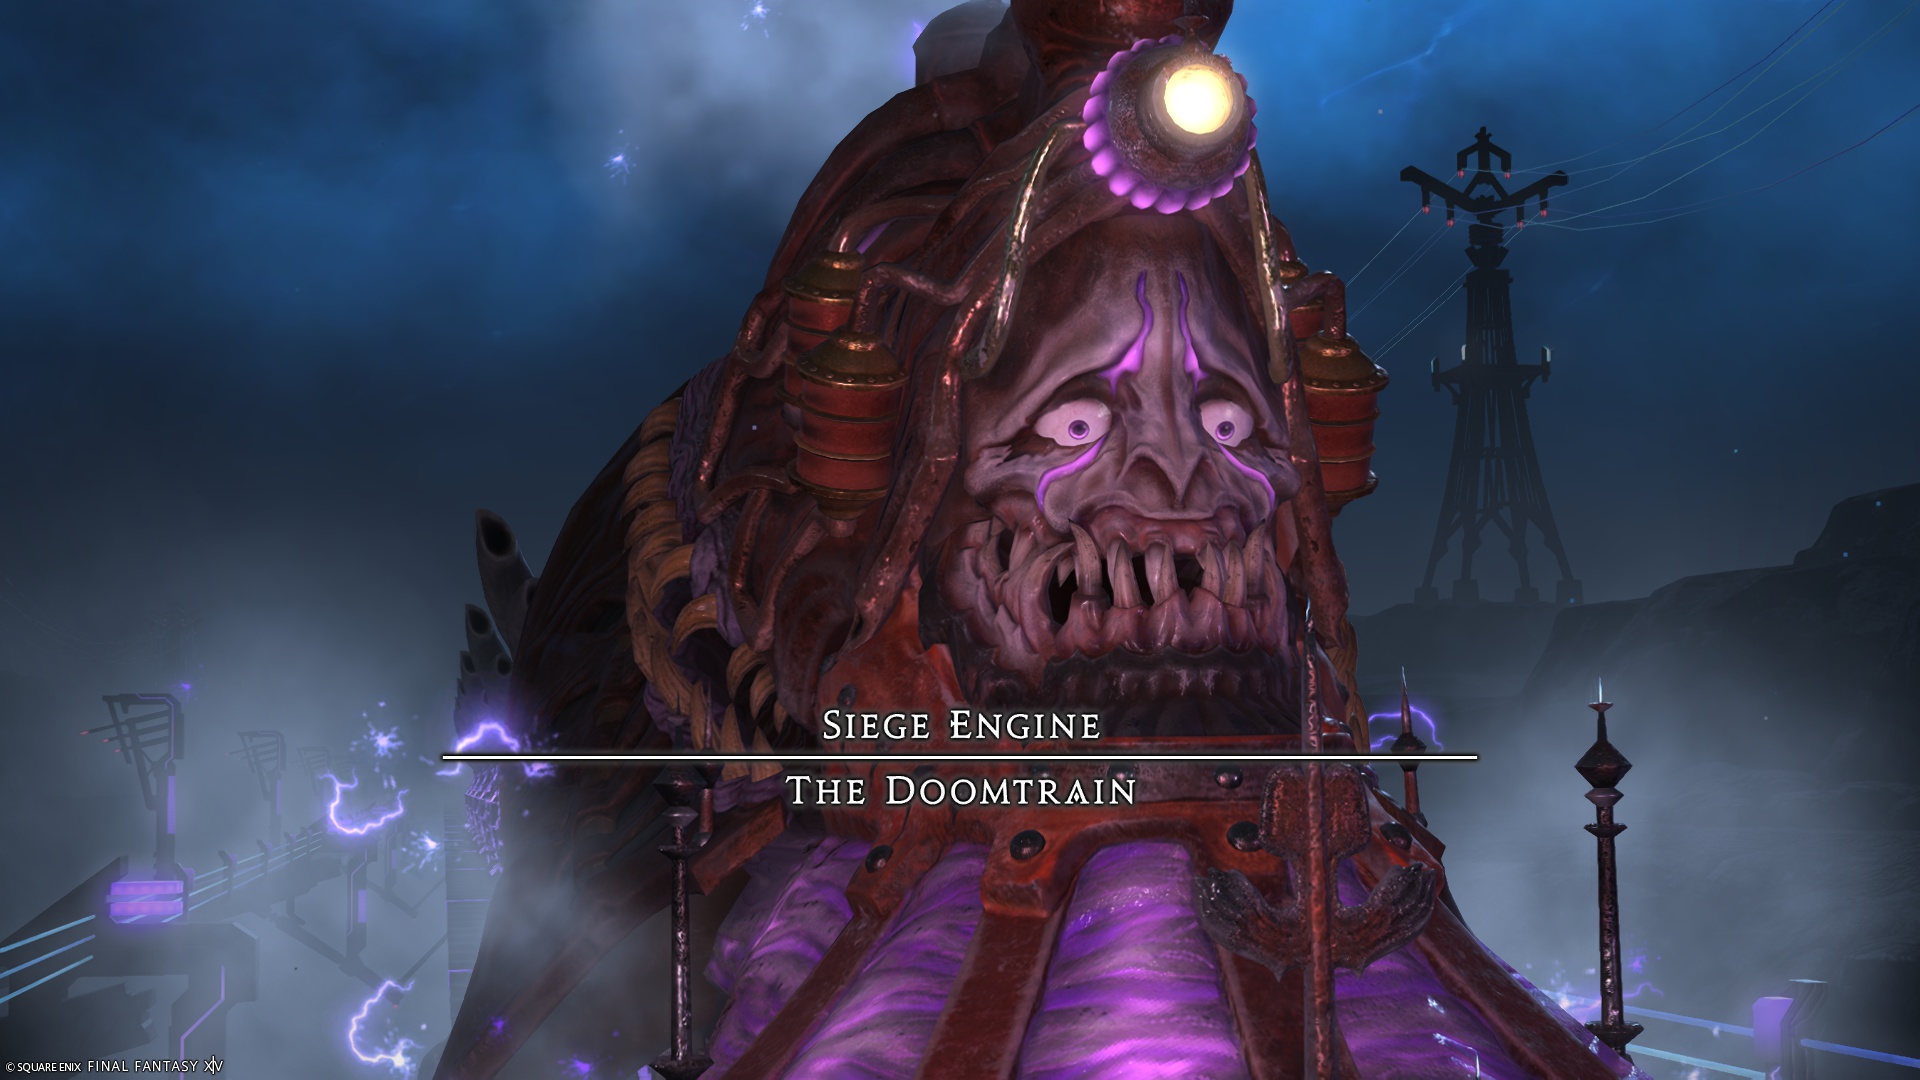
Hell on Rails Trial Guide: Doomtrain Mechanics and Strategy
Duty Information
Expansion: Dawntrail
Encounter: Hell on Rails
Players: 8 (Tank / Tank / Healer / Healer / DPS / DPS / DPS / DPS)
Duty Finder Type: Trial
Level: 100
Item Level: 745
Unlock Requirement: Where We Call Home


Encounter Overview
Hell on Rails is a level 100 Dawntrail trial featuring Doomtrain, a multi-phase encounter that takes place across several moving train cars. Each phase introduces unique mechanics tied to terrain, elevation, and environmental objects, requiring players to quickly adapt positioning between transitions.
Compared to encounters like The Windward Wilds, this fight is less about reading animations and more about controlling space and using terrain effectively. Most wipes occur from poor positioning during platform mechanics or failing to adjust between elevations quickly enough.
For a full comparison across all trials, see the FFXIV Trial Rankings.
Arena Overview
The encounter takes place across multiple train cars, each with a 4×6 grid layout. Some tiles contain objects such as boxes or raised platforms that are required for resolving mechanics.
Players can fall off the east and west sides of platforms, making positioning critical during knockbacks and movement mechanics. Each phase transition knocks the party to the next train car.
Mechanic Archive
Lightning Burst
Dual tankbusters hitting both tanks.
Tanks should mitigate early and stay separated—overlap is unnecessary and risky.
Lightning Express
Line AoEs from portals combined with knockback.
Stand in a column with an upper portal to avoid ground AoEs. Use knockback immunity or pre-position to land safely.
Windpipe
Pull-in effect followed by a front AoE.
Start far back or use terrain (boxes) to resist pull. Late movement will drag you into the front AoE.
Unlimited Express
Raidwide damage that transitions to the next car.
Treat this as a reset—prepare immediately for the next mechanic.
Turret Crossing
Turrets fire line AoEs across rows.
Identify glowing turrets early and hide behind boxes. Move immediately after resolution for the next set.
Electray
Line AoEs from turrets.
Use boxes as cover—do not rely on movement alone.
Head-on Emission
Full AoE targeting either lower or upper level.
Micro-strategy:
- Jaw charge = ground unsafe → go up
- Headlamp glow = upper unsafe → go down
Commit early—late swaps are fatal.
Platform Teleporters
Allow movement between elevations.
Use proactively, not reactively. Waiting too long removes safe options.
Add Phase (Runaway Train)
Destroy the Aether add before the gauge fills.
Focus damage and avoid unnecessary movement—this is a DPS check, not a survival check.
Aether Surge
Tankbuster cone from rotating boss + AoEs from add.
Tanks aim cones away from group while everyone avoids overlapping AoEs.
Shockwave
Instant raidwide damage.
Heal quickly—this often precedes positioning mechanics.
Arcane Revelation
Large rotating AoE that stops and explodes.
Track rotation direction early and pre-position at the next safe point—not where it currently is.
Derailment Siege
Multi-hit stack tower.
Stack tightly and mitigate across hits—healers stabilize after final hit.
Derail
Destroys the platform.
Move immediately to the next platform—hesitation results in instant death.
Turret + Elevation Combo (Final Phase)
Turrets require players to be on the opposite elevation.
Identify turret height first, then adjust elevation—trying to dodge visually is too slow.
Battering Arms
Multi-hit stack mechanic.
Stack cleanly and prepare for follow-up mechanics—this no longer transitions the platform.
Encounter Flow
Car 1–2 (Introduction)
The fight begins with Lightning Express and Windpipe, introducing knockback and pull mechanics.
Turret Crossing and Electray establish terrain usage. Players must use boxes to survive rather than relying purely on movement.
Car 3 (Elevation Phase)
Head-on Emission introduces elevation-based mechanics. Players must swap between ground and platforms depending on attack type.
This phase tests early recognition—late elevation changes are unrecoverable.
Car 4 (Add Phase)
The party must defeat the Aether add before enrage while avoiding rotating tankbusters and AoEs.
This is a straightforward execution check—focus damage and avoid unnecessary mistakes.
Car 4 Continued
Arcane Revelation introduces rotating AoEs that require predictive positioning.
Derailment Siege and Derail force quick repositioning between platforms.
Car 5 (Final Phase)
The fight combines all previous mechanics, including elevation-based turrets and rotating AoEs.
Success comes from consistency—early recognition, controlled movement, and correct use of terrain.