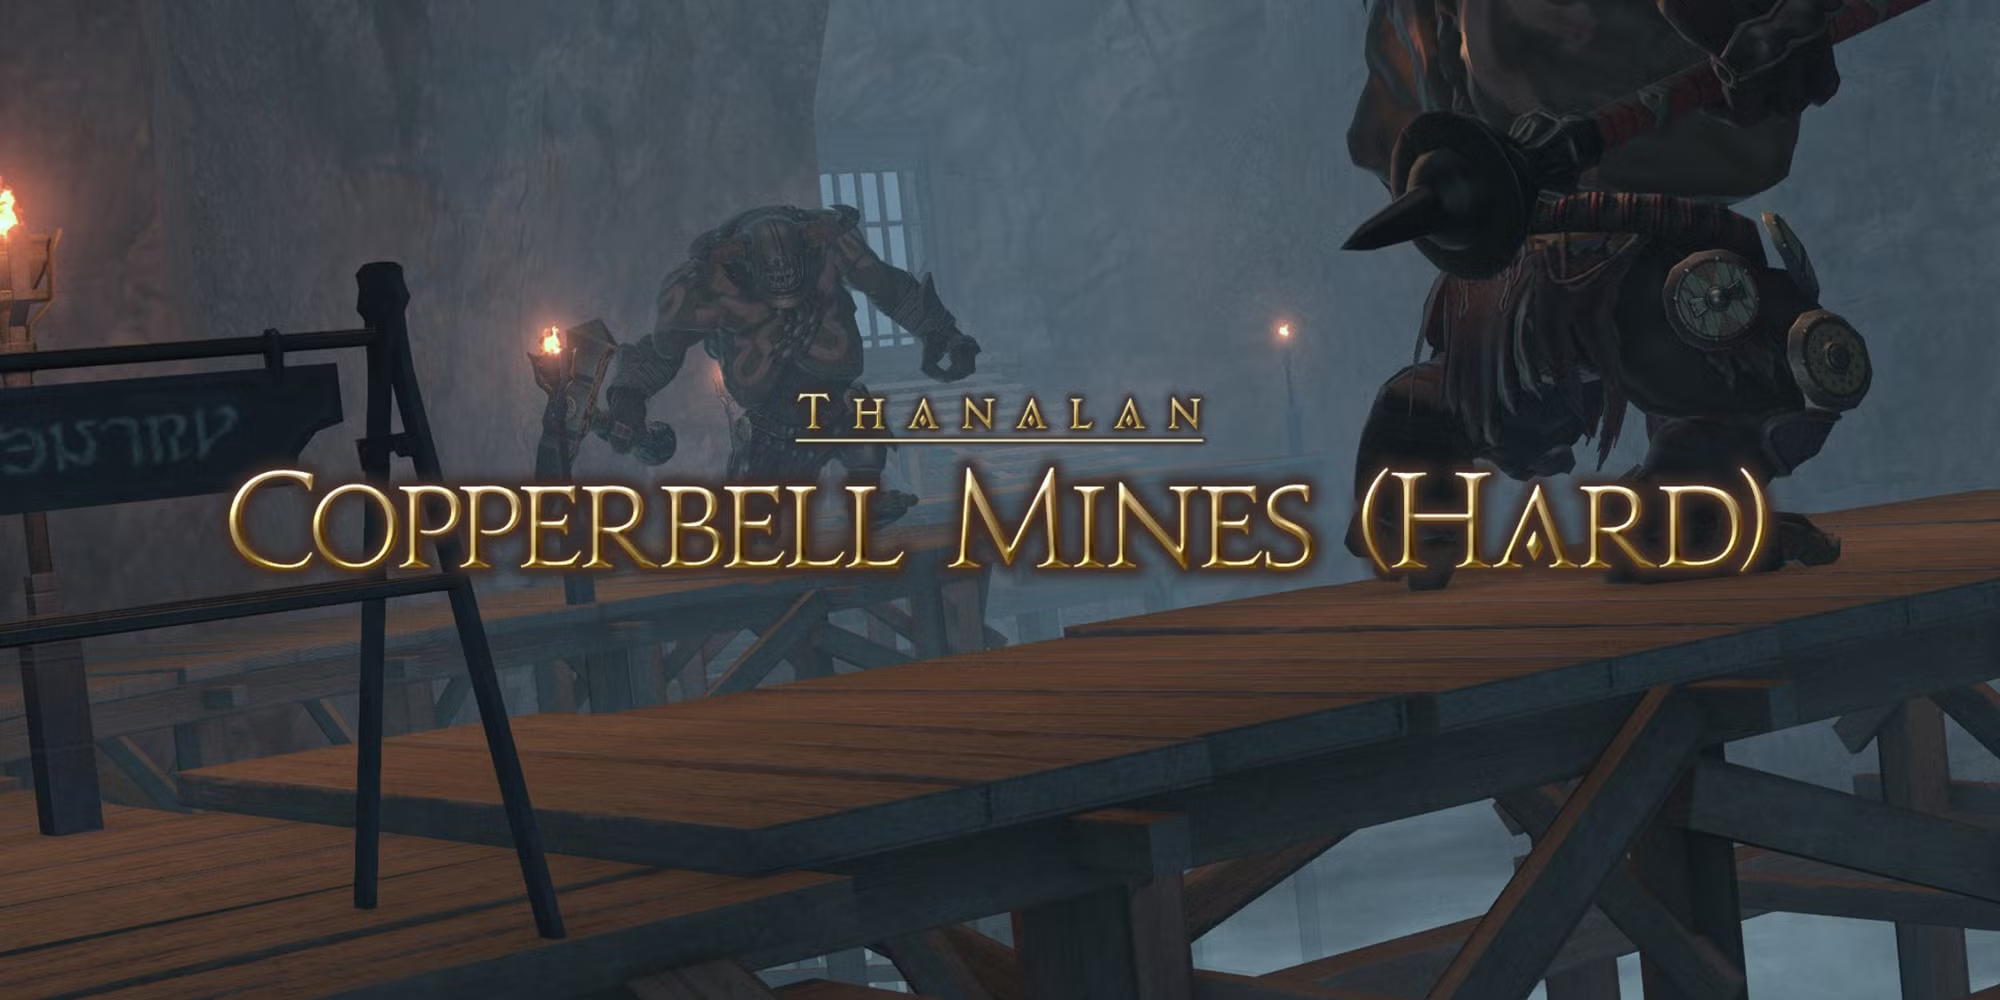
Copperbell Mines (Hard) Dungeon Guide – FFXIV A Realm Reborn
Duty Information
Expansion: A Realm Reborn
Encounter: Copperbell Mines (Hard)
Players: 4 Players (1 Tank, 1 Healer, 2 DPS)
Duty Finder Type: Dungeon
Level: 50
Item Level: 48 (Sync 110)
Unlock Requirement: Out of Sight, Out of Mine
Common Failure Points
- Letting a Flambeau reach the burning ground during the first boss.
- Failing to use Waymaker Bombs correctly on Gogmagolem and dragging the fight out.
- Missing the Crystallized Rock check during the final boss and eating Bottomless Desert.
← Back to A Realm Reborn Dungeon Rankings
Dungeon Overview
Copperbell Mines (Hard) revisits the abandoned Thanalan mine at level 50 and turns its original environmental gimmicks into much more dangerous fight mechanics. Instead of simply using explosives to open progression paths, the dungeon now asks the party to actively manage encounter objects while fighting bosses under pressure.
This hard-mode version is much more mechanic-driven than the original duty. Bomb handling, add control, boss positioning, and dedicated interaction checks all matter here, making it one of the more memorable early ARR hard dungeons.
Compared to the leveling version, Copperbell Mines (Hard) places more responsibility on individual players to recognize what mechanic must be handled immediately before the encounter spirals out of control.
Dungeon Objectives
- Clear the Screaming Dark
- Clear the Crying Dark
- Defeat Ouranos
Walkthrough Highlights
Hard-Mode Structure
The dungeon follows a fairly direct path, but each boss introduces a specific interaction check that matters more than raw damage output alone.
Players who enter expecting a simple burn-down dungeon often wipe because they ignore the object-based mechanics that define each encounter.
Role Awareness Matters More Here
This is one of the earlier dungeons where assigning jobs informally can make the run much smoother. A player handling bombs on the second boss, or a player watching for worm bait duty on the final boss, reduces confusion and cuts wipe risk significantly.
Need the unlock path? See All FFXIV Dungeon Unlock Requirements.
Boss Encounters
Hecatoncheir Mastermind
Key Mechanics
Darkfire — The boss periodically sets part of the platform ablaze, forcing the party to move farther down the bridge.
Flambeau — A bomb add spawns whenever Darkfire appears and attempts to move into the fire.
If the Flambeau reaches the burning ground, or if it is ignored long enough to self-destruct, it will wipe the party.
Strategy Notes
The entire fight revolves around immediate add control. As soon as a Flambeau spawns, swap to it and kill it quickly. If your group is slow, use a stun to buy extra time.
The party should also keep moving cleanly down the bridge as the safe space shrinks. Avoid unnecessary drifting so the healer is not forced to recover avoidable damage while the bomb check is happening.
Failure Points
The most common wipe here is simply letting the Flambeau touch the fire or explode on its own. This boss is easy if the add is respected, and brutal if it is ignored.
Gogmagolem and Biggy
Key Mechanics
Improved Blasting Device — Used to spawn a Waymaker Bomb, which is the primary way to damage Gogmagolem.
Waymaker Bomb — Must be carried and dropped in the boss’s path shortly before it explodes.
Kindling Sprites — Adds that spawn around the room and should be cleaned up while bomb handling is underway.
Plaincracker — Heavy frontal cone aimed at the tank. Non-tanks should stay clear of the front.
After Gogmagolem is destroyed, Biggy appears and must be finished while avoiding large bomb explosions.
Strategy Notes
This fight goes much better when the group naturally splits responsibilities. One player should focus on using the Improved Blasting Device and dropping Waymaker Bombs into Gogmagolem’s route. The other damage dealer should focus on clearing Kindling Sprites.
Tanks should keep the boss controlled and faced away from the party, while everyone stays alert for black bomb explosions around the room. Once Biggy spawns, collapse damage quickly and avoid lingering near oversized bombs.
Failure Points
Most groups fail here by treating Gogmagolem like a normal boss. If bombs are not used correctly, the encounter drags on, the arena gets messy, and mistakes pile up fast.
Ouranos
Key Mechanics
Circular AoEs — Avoid the boss’s repeated area attacks and keep the front clear for the tank.
Giga Adds — Adds spawn and target random players rather than being easily controlled by the tank.
Sand Worm — Triggered when the message appears: The abyss worm is searching for fodder.
Crystallized Rock — Objects around the arena that must be picked up and placed in the sand to distract the worm.
Bottomless Desert — Heavy party damage and pull to center if the worm is not distracted in time.
Strategy Notes
This encounter becomes much more stable if one player is mentally assigned to rock duty. As soon as the worm warning appears, that player should grab a Crystallized Rock, place it into the sand, and move away.
Meanwhile, the rest of the party should continue burning the boss while cleaning up Giga adds quickly. Non-tanks should stay out of the boss’s front and avoid getting clipped by circular AoEs while the worm mechanic is being handled.
Failure Points
If nobody handles the Crystallized Rock in time, Bottomless Desert can destabilize or wipe the run immediately. This is the fight’s main check and the mechanic the party must respect above everything else.
Notable Enemies
- Chalcopyrite Coblyn
- Hecatoncheir Skullcrusher
- Errant Revenant
- Hecatoncheir Tremorward
- Collapsed Rock
- Spriggan Miner
- Hecatoncheir Stonehoarder
- Hecatoncheir Quakequeller
- Mining Dross
- Flambeau
- Hecatoncheir Rockvaulter
- Hecatoncheir Rocksplitter
- Hecatoncheir Wallcrasher
- Fulminator
- Kindling Sprite
- Shattering Cap
- Copperbell Nix
- Ancient Uragnite
- Pit Hippogryph
- Septic Slime
Difficulty Assessment
Copperbell Mines (Hard) is one of the better examples of ARR hard-mode dungeon design because it forces players to do more than simply dodge telegraphs and attack the boss.
Its encounters emphasize:
- object-based mechanics
- add control under pressure
- informal role assignment
- quick reaction to wipe mechanics
In an organized group, the dungeon is manageable. In an average Duty Finder party, though, its boss mechanics can punish hesitation very quickly, especially on Gogmagolem and Ouranos.
Continue the A Realm Reborn Dungeon Archive
-
A Realm Reborn Dungeon Rankings
View all A Realm Reborn dungeons -
Relic Weapon Progression
See the A Realm Reborn relic weapon guide -
A Realm Reborn Trial Encounters
Browse all A Realm Reborn trials
Previous Dungeon: Pharos Sirius | Next Dungeon: Haukke Manor (Hard)
Guildmaster Notes
Copperbell Mines (Hard) feels less like a return trip and more like a warning about what happens when old works are left to rot underground.
The mine’s collapsing paths, unstable explosives, and ancient labor horrors turn a familiar place into something far less forgiving.
It is an excellent reminder that in Eorzea, the most dangerous ruins are often the ones adventurers think they already understand.