Containment Bay S1T7 Guide – Sephirot Trial Mechanics
Duty Information
Expansion: Heavensward
Encounter: Containment Bay S1T7
Players: 8 (Tank / Tank / Healer / Healer / DPS / DPS / DPS / DPS)
Duty Finder Type: Trial
Level: 60
Item Level: 190
Unlock Requirement: When the Bough Wakes
Encounter Overview
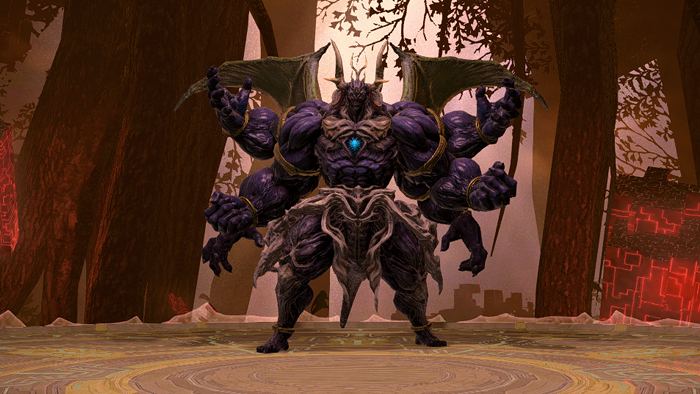
Containment Bay S1T7 is a level 60 trial introduced in patch 3.2 during the Heavensward expansion.
Players face Sephirot, the Fiend, in a two-phase battle featuring strong positional
mechanics, knockbacks, and lethal add management.
The fight is notable because many of Sephirot’s attacks have minimal telegraphs or cast bars,
requiring players to react to animation cues instead of traditional AoE indicators.
The encounter transitions at roughly 60% health and introduces knockback mechanics, add priority,
and platform danger as the arena becomes far more hazardous.
Arena Overview
The encounter takes place on a circular platform with open edges during Phase 2. Falling from the
arena results in instant death. Positioning becomes extremely important during knockback mechanics
and pillar attacks.
During Phase 1, the arena is relatively safe and players can focus on learning Sephirot’s attack
patterns. In Phase 2, the fight becomes significantly more dangerous due to platform hazards and
add management requirements.
Mechanic Archive
Fiendish Rage
A stack marker indicated by four arrows targeting a single player. All players must stack on the
marked target to share the incoming damage.
Ratzon
Several players receive small green AoE markers that detonate after a short delay. These players
must spread away from one another to avoid overlapping damage.
Ain
Sephirot raises his arms and faces a random player before releasing a massive frontal blast that
covers roughly 180 degrees of the arena. Players struck receive a
Vulnerability Up debuff.
The safest response is to move behind Sephirot as soon as the animation begins.
Binah
One of the adds summoned during the phase transition. This enemy should generally be defeated
before Cochma due to its higher threat to the party.
Cochma
A secondary add spawned during the transition. After Binah is defeated the party should focus
down Cochma.
Pillar of Mercy
Large blue circles appear on the arena as Sephirot prepares a powerful knockback attack. Players
should stand next to the circles rather than inside them to avoid both the damage and the knockback
that could push them off the platform.
Light Beam Cleave
Two players are marked with tall beams of light. Sephirot performs large cleaving attacks toward
these targets. Marked players should move to one side of the arena while unmarked players move to
the opposite side to avoid overlapping damage.
Storm of Words
A dangerous add that must be defeated quickly. If it successfully casts
Revelation, the party will be wiped.
Revelation
A lethal cast performed by Storm of Words. This ability must be prevented by killing the add before
the cast completes.
Air Current
When certain enemies die they create an air current that players can stand inside to avoid
Sephirot’s sweeping arm attack.
Arm Sweep
A large sweeping attack that can knock players away from Sephirot. Standing within the generated
air current allows players to avoid the effect safely.
Energy Beam
After the arm sweep, Sephirot charges a powerful beam attack. Players should spread briefly to
avoid overlapping damage before regrouping.
Red Pillars
Two large red pillars appear in the arena. At least one player must stand inside each pillar to
prevent heavy raid-wide damage. Tanks are typically best suited for soaking these mechanics.
Encounter Flow
Phase 1
The opening phase focuses on positioning and reaction mechanics. Players should remain stacked
behind Sephirot whenever possible to avoid the frontal attack
Ain.
The phase cycles through:
- Fiendish Rage stack markers
- Ratzon spread markers
- Ain frontal blast
At roughly 60% health, Sephirot summons the adds Binah and
Cochma. The party should defeat Binah first, then
Cochma to transition into Phase 2.
Phase 2
The second phase introduces platform danger and more complex mechanics. Players should stay near
the center of the arena whenever possible to avoid falling from knockbacks.
Key mechanics include:
- Pillar of Mercy knockback circles
- Light beam cleaves targeting two players
- Storm of Words add requiring immediate kill priority
- Air current safe zones for the arm sweep attack
- Red pillar soak mechanics
The party must quickly eliminate Storm of Words before it casts
Revelation, then clean up remaining adds while handling Sephirot’s positional
mechanics.
Once the add mechanics are resolved the party can focus on finishing the encounter.