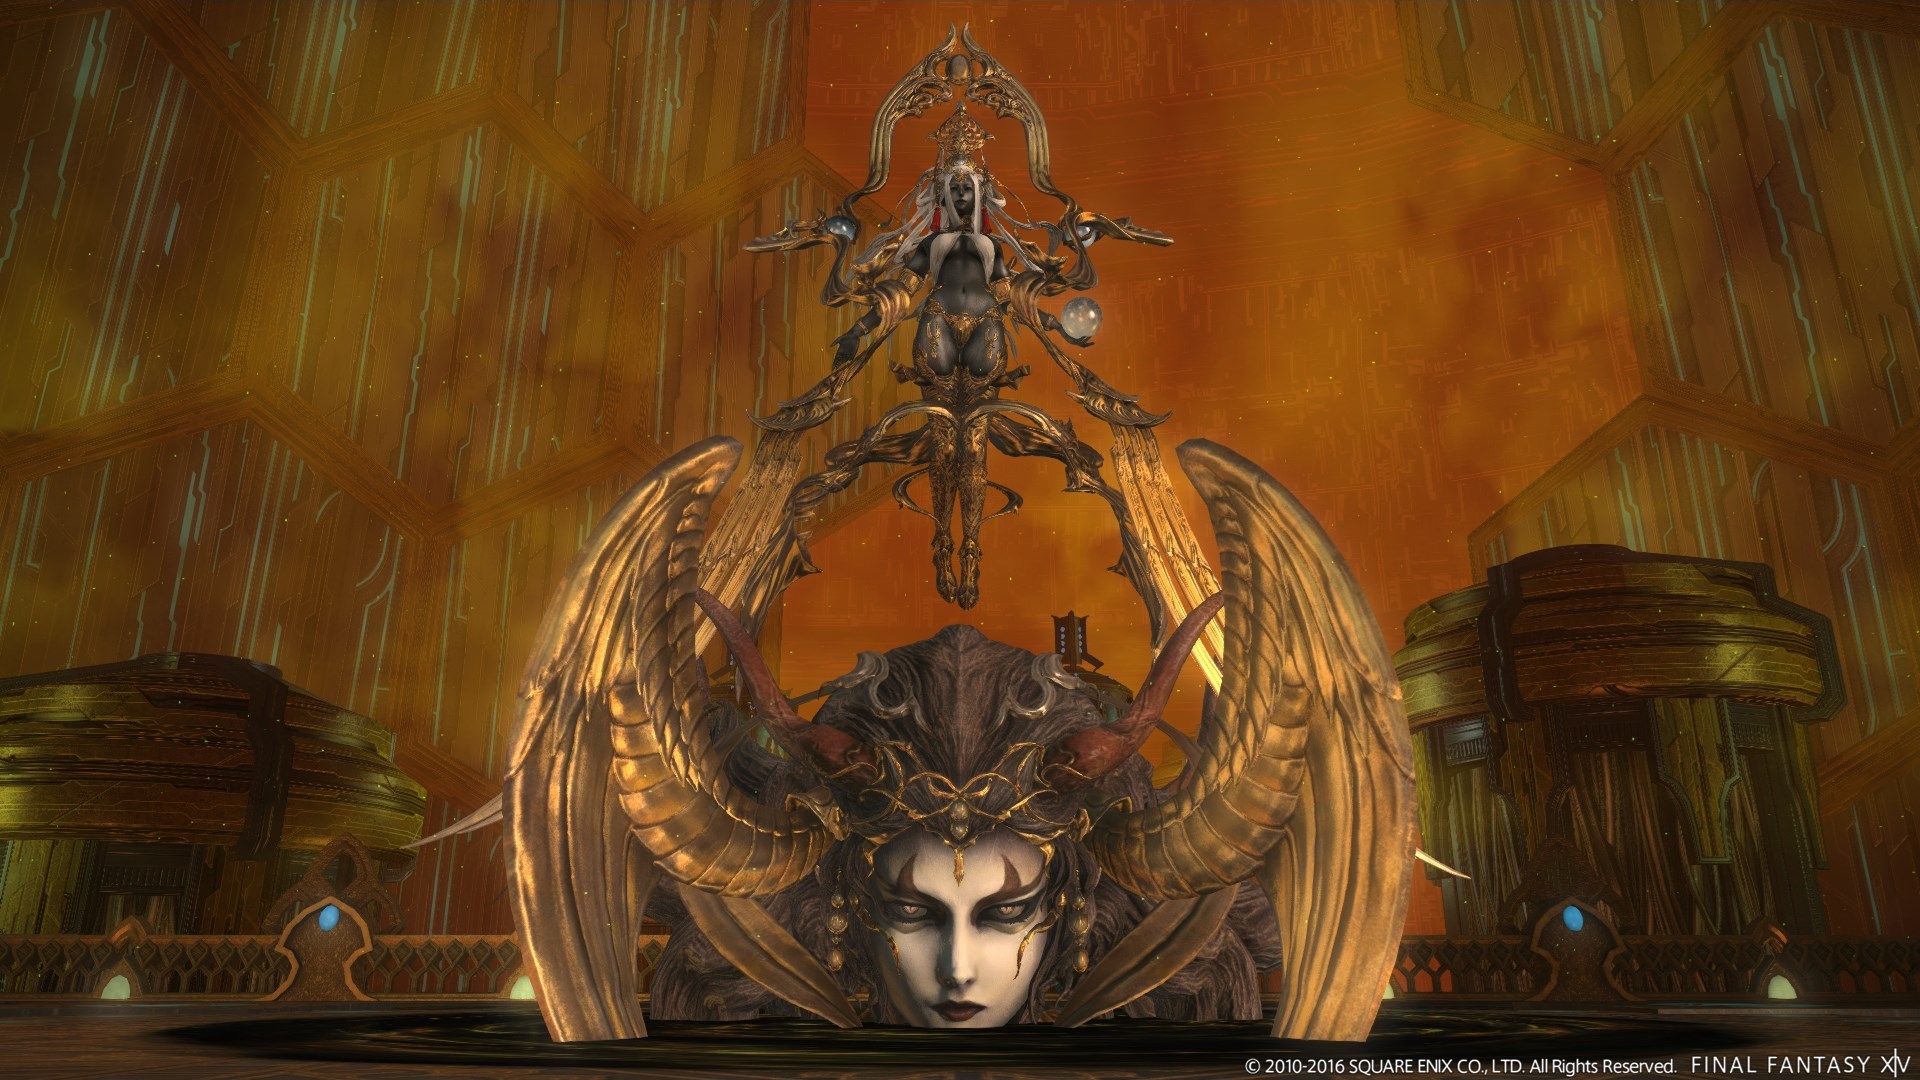
Containment Bay P1T6 (Extreme) Guide – Sophia Trial Mechanics
Duty Information
Expansion: Heavensward
Encounter: Containment Bay P1T6 (Extreme)
Players: 8 (Tank / Tank / Healer / Healer / DPS / DPS / DPS / DPS)
Duty Finder Type: Trial
Level: 60
Item Level: 235
Unlock Requirement: A Deific Simulacrum
Encounter Overview
Containment Bay P1T6 (Extreme) is the high-end version of the Sophia encounter from Heavensward. The fight is divided into three phases and revolves around knockback control, add management, meteor-weight calculations, and paired marker resolution.
Sophia’s mechanics are heavily positional. Players must frequently react to directional attacks, match debuffs to the correct side of the arena, and survive repeated platform tilts from Quasar. In the final phase, multiple mechanics begin overlapping, making clean movement and role discipline critical.
Arena Overview
The battle takes place on a long rectangular platform with open edges. Players can be knocked from the platform and fall to their deaths, though they may be resurrected after a short delay.
Many mechanics involve either sliding or being knocked across the arena. Because of this, players should always be aware of where the safe landing space is before a tilt or knockback resolves.
Mechanic Archive
Thunder II
A frontal cone attack from Sophia. Players should sidestep or stand clear of her facing to avoid damage and Vulnerability Up.
Thunder III
A large donut AoE centered on Sophia. The safe area is directly beneath her hitbox.
Aero III
A large AoE centered on Sophia. It deals moderate damage and applies Vulnerability Up if hit.
Gnosis
Sophia summons Barbelo to the edge of the arena, creating a strong knockback across the platform. Players must either move toward Barbelo to shorten the push or use knockback prevention to stay in place.
Arms of Wisdom
A heavy tankbuster with no traditional cast bar, indicated by green wind aether gathering around Sophia. It also applies Lightning Resistance Down II, making tank swaps recommended.
Aion Teleos
Four invincible Sophia clones appear around the arena and memorize one of Sophia’s attacks. When Execute is cast, the clones perform those stored attacks simultaneously.
Execute
Triggers all active Aion Teleos clones to resolve their stored attacks at once. Players must identify which clones stored which attacks and move to the remaining safe area.
Cloudy Heavens
A raidwide transition attack that starts the add phase.
Eternal Doom
A long debuff applied to the entire party during the add phase. It can only be removed by defeating all three Demiurges. If a player dies or the debuff expires, they become zombified instead of dying normally.
The First Demiurge
A paladin-like add that must be tanked. It uses directional parries that punish players attacking from the wrong side and also uses a line stack attack.
The Second Demiurge
A healer-type add that uses a gaze attack to inflict confusion and casts healing spells on the other adds. It is the highest-priority target in the add phase.
The Third Demiurge
A lancer-type add that must be tanked. It drops persistent ice patches and uses line and cone attacks that can become awkward to dodge if the add is positioned poorly.
Scales of Revelation
After the add phase, Sophia summons her scales and tips the arena twice in opposite directions. Players must begin at the far east side to survive the double slide, then withstand the follow-up raidwide damage from The Scales of Wisdom.
Quasar
The defining mechanic of the final phase. Meteors fall onto scales at the east and west sides of the arena, causing the platform to tilt toward the heavier side. Players must identify both the direction and strength of the upcoming slide.
Orange Meteor
An orange meteor has a weight value of 1.
Blue Meteor
A blue meteor has a weight value of 3 and is the easiest quick indicator for which side will be heavier.
Cintamani
A triple burst of unavoidable raidwide magic damage. Healers must be ready for repeated healing here.
Light Dew
Barbelo appears on the north or south side of the platform and fires a strong line attack. This often overlaps with Quasar, forcing players to choose a position that avoids both the slide and the beam.
Onrush
Sophia charges from the east or west side of the platform across half the arena. Players must stay clear of the half she is covering.
Discordant Cleansing
Half the party is marked with black circles and the other half with white circles. Each player must pair with someone of the opposite color to avoid dangerous debuffs. Same-color overlaps cause raid damage and spread the debuff to the party.
Quasar Proximity Pattern
Some Quasar casts do not tilt the scales but instead drop proximity flares on every player. Stacking briefly before the cast helps control where those flares are placed and makes the follow-up movement cleaner.
Enrage Pattern
The encounter ends with an impossible version of Discordant Cleansing where every player receives the same color, followed by Cintamani. This functions as Sophia’s hard enrage.
Encounter Flow
Phase 1 – 100% to 84%
Sophia opens with her baseline toolkit: Thunder II, Gnosis, Arms of Wisdom, and the first Aion Teleos plus Execute pattern. This phase is primarily about learning her directional attacks and preparing for later clone mechanics.
The phase ends with Cloudy Heavens, transitioning into the add phase.
Phase 2 – The Three Demiurges
All players are afflicted with Eternal Doom, and Sophia becomes untargetable while three Demiurges spawn in the center. The healer add should be defeated first, the lancer add second, and the paladin add last.
The party must clear all three before the debuff expires. Once they are defeated, Sophia summons the scales and tilts the arena twice, followed by The Scales of Wisdom to end the phase.
Phase 3 – Final Phase
Sophia returns with her opening mechanics but now adds Quasar, Cintamani, Light Dew, Onrush, and Discordant Cleansing. The phase begins with several fixed opener groups, then moves into a looping rotation.
The party must repeatedly read meteor weights, move to the correct side for Quasar, resolve color pairings correctly, handle clone patterns through Aion Teleos, and tank swap through repeated Arms of Wisdom casts.
As the rotation continues, Sophia combines Quasar with Light Dew and Onrush, creating layered movement checks that require accurate slide prediction and clean positioning before the tilt resolves.