The Singularity Reactor Guide – King Thordan Trial Mechanics FFXIV
Duty Information
Expansion: Heavensward
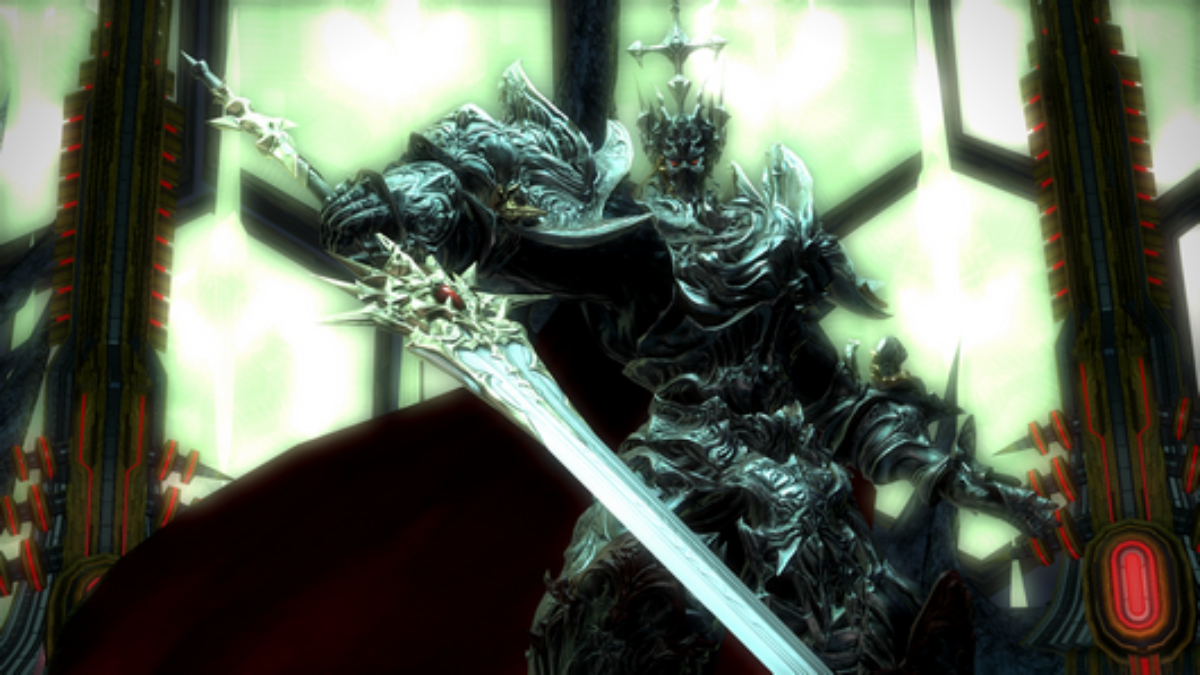
Encounter: The Singularity Reactor
Players: 8 (Tank / Tank / Healer / Healer / DPS / DPS / DPS / DPS)
Duty Finder Type: Trial
Level: 60
Item Level: 142
Unlock Requirement: Heavensward
Encounter Overview
The Singularity Reactor is a level 60 trial introduced in Heavensward. In this encounter, players
battle King Thordan and the Heavens’ Ward in a multi-phase fight built around layered telegraphs,
knockbacks, gaze mechanics, tower soaks, and a long knight gauntlet in the middle of the encounter.
The battle is split into three phases. The opening phase focuses on Thordan’s own attacks and the
first support mechanics from his knights. The second phase is a long sequence where the Heavens’
Ward take over the arena and unleash multiple overlapping mechanics. The final phase is a short
cleanup after Ultimate End.
Arena Overview
The encounter takes place on a circular platform with no traditional walls. Positioning matters
throughout the fight because many mechanics involve line attacks, spread markers, proximity damage,
and knockbacks. During the knight phase, safe space can become limited by overlapping AoEs, frozen
ground, comets, and rotating attack patterns.
Mechanic Archive
Lightning Storm
Four players are marked with small circular lightning AoEs, while the other four players receive
ground-targeted AoE circles. Both sets resolve at roughly the same time, forcing the party to
spread cleanly to avoid overlap damage.
Ascalon’s Mercy
Thordan creates a series of line AoEs across the arena with narrow gaps between them. Players must
move into the safe lanes before the attack resolves.
Ancient Quaga
A moderate raidwide magic attack used during the opening phase.
Ascalon’s Might
Thordan’s tankbuster. The main tank should be ready to mitigate the hit.
Knights of the Round
At around 80% HP, Thordan begins summoning members of the Heavens’ Ward to perform mechanics from
outside the arena. This marks the first major escalation of the encounter.
Ser Janlenoux and Ser Adelphel
These knights charge across the arena, applying Bleeding to players in their path
and leaving behind orbs of light. The bleed can be cleansed, and the charge paths should be avoided
cleanly because the leftover orbs add more pressure after the dash resolves.
Ser Vellguine
Vellguine attacks from the edge of the platform with a large column AoE that travels across the
arena. The attack is straightforward but can become dangerous when it overlaps other knight
mechanics.
Ser Hermenost
Hermenost summons three tower platforms that must each be occupied by one player. Failing to soak
them inflicts Paralysis on the party.
The Dragon’s Eye
At around 55% HP, Thordan empowers himself and gains a stronger version of Ascalon’s Mercy as well
as access to The Dragon’s Gaze.
The Dragon’s Gaze
A party-wide gaze attack that inflicts terror on anyone facing Thordan when it resolves. Players
must turn their character away to avoid it.
Heavensflame
Used by Ser Charibert during the knight phase. Multiple circular AoEs appear across the arena,
adding movement pressure while other mechanics continue.
Sacred Cross
Ser Zephirin appears and begins casting a powerful unavoidable party attack. The lower his HP is
when the cast finishes, the less damage the raid takes.
Rapid Sever
A fast multihit tank attack used by Janlenoux and Adelphel during the knight phase.
Holiest of Holy
A raidwide attack used intermittently during the knight phase, adding pressure while other mechanics
resolve.
Proximity Impact
Ser Ignasse smashes the ground at the edge of the arena. Damage is reduced the farther away players
are from the impact point.
Frozen Ground Markers
Ser Paulecrain marks players with blue ice indicators that leave behind heavy-inducing frozen ground.
These patches restrict movement and can make later dodges more difficult.
Line Pressure Attack
Paulecrain also uses a targeted line attack that is more dangerous the farther the target is from
the source. This encourages careful positioning rather than simply running away.
Growing Dark Circles
Ser Grinnaux creates several dark AoE circles that expand over time, shrinking available safe
space.
Comet Phase
Ser Noudenet summons comet circles around the arena with a large central meteor. These must be
destroyed before they fully resolve.
Progressive Ring AoE
Ser Guerrique casts a sequential ring-based ground AoE that resolves in stages. Players must move
between the safe rows as the pattern advances.
Light of Ascalon
After the knight gauntlet, Thordan returns and repeatedly knocks players back while the Heavens’
Ward take their final positions.
Ultimate End
Thordan’s major finishing attack with the Heavens’ Ward. The damage of Ultimate End depends on how
quickly the knight phase was handled and how many players were lost before the cast resolves.
Encounter Flow
Phase 1
The fight opens with Thordan’s own toolkit, including Lightning Storm,
Ascalon’s Mercy, Ancient Quaga, and
Ascalon’s Might. As the phase progresses, the Heavens’ Ward begin assisting from
outside the arena through charges, towers, and line attacks.
At around 55% HP, Thordan gains The Dragon’s Eye, upgrading his pattern pressure
and adding the gaze mechanic The Dragon’s Gaze.
Phase 2
At low health, Thordan leaves the arena and the Heavens’ Ward take over. This phase is a long
gauntlet of overlapping mechanics involving tower soaks, raidwides, line attacks, proximity damage,
frozen ground, expanding dark circles, comets, and rotating ring patterns.
Players must resolve each sequence cleanly while minimizing deaths, because the outcome of this
phase directly affects the damage of Ultimate End.
Phase 3
After Ultimate End, Thordan returns weakened. His knights no longer support him,
and he is left with a heavy damage penalty. This final phase is a short burn to finish the
encounter.