The Final Steps of Faith Guide – Nidhogg Trial Mechanics FFXIV
Duty Information
Expansion: Heavensward
Encounter: The Final Steps of Faith
Players: 8 (Tank / Tank / Healer / Healer / DPS / DPS / DPS / DPS)
Duty Finder Type: Trial
Level: 60
Item Level: 205
Unlock Requirement: An End to the Song
Encounter Overview
The Final Steps of Faith is a level 60 trial introduced in patch 3.3 during Heavensward. In this encounter,
players battle Nidhogg across four distinct phases that combine raidwide damage, add pressure,
line attacks, meteor placement, and repeated stacking checks.
The encounter is heavily driven by positioning. Several mechanics resolve in quick succession, and poor movement
can leave players trapped between overlapping AoEs. While the opening and closing phases share some similarities,
the add phase and humanoid phase introduce their own execution checks that must be handled cleanly to progress.
Arena Overview
The encounter takes place on a large circular platform with plenty of room to move, but many mechanics force
the party to reposition rapidly. Players are frequently asked to spread, then regroup, then immediately move again
to dodge follow-up attacks.
Because several mechanics leave dangerous ground effects behind, staying loosely organized and avoiding unnecessary
drift around the arena makes later dodges much easier.
Mechanic Archive
Deafening Bellow
A raidwide attack used throughout the encounter. In later portions of the fight, Nidhogg may cast it multiple
times in close succession, increasing healing pressure.
Flyover AoE
Nidhogg leaves the arena and performs a large directional attack across the platform. Players should watch his
movement carefully and reposition early to avoid being clipped.
Hot Wing
A wide room-covering attack that leaves a safe strip running along the length of Nidhogg’s body. Players must
move into that narrow safe lane before the attack resolves.
Hot Tail
A follow-up to Hot Wing that covers the section of the arena that was previously safe. Players must move out of
the first safe lane immediately after Hot Wing resolves.
Ground Holes
Circular ground markers appear beneath random players and detonate shortly afterward. These must be spread cleanly
to avoid overlap and then vacated immediately.
Fire Trail
After the ground holes resolve, Nidhogg may disappear and trace a line of fire across the platform. Stacking near
the middle before the pattern appears makes it easier to read his travel path and reposition in time.
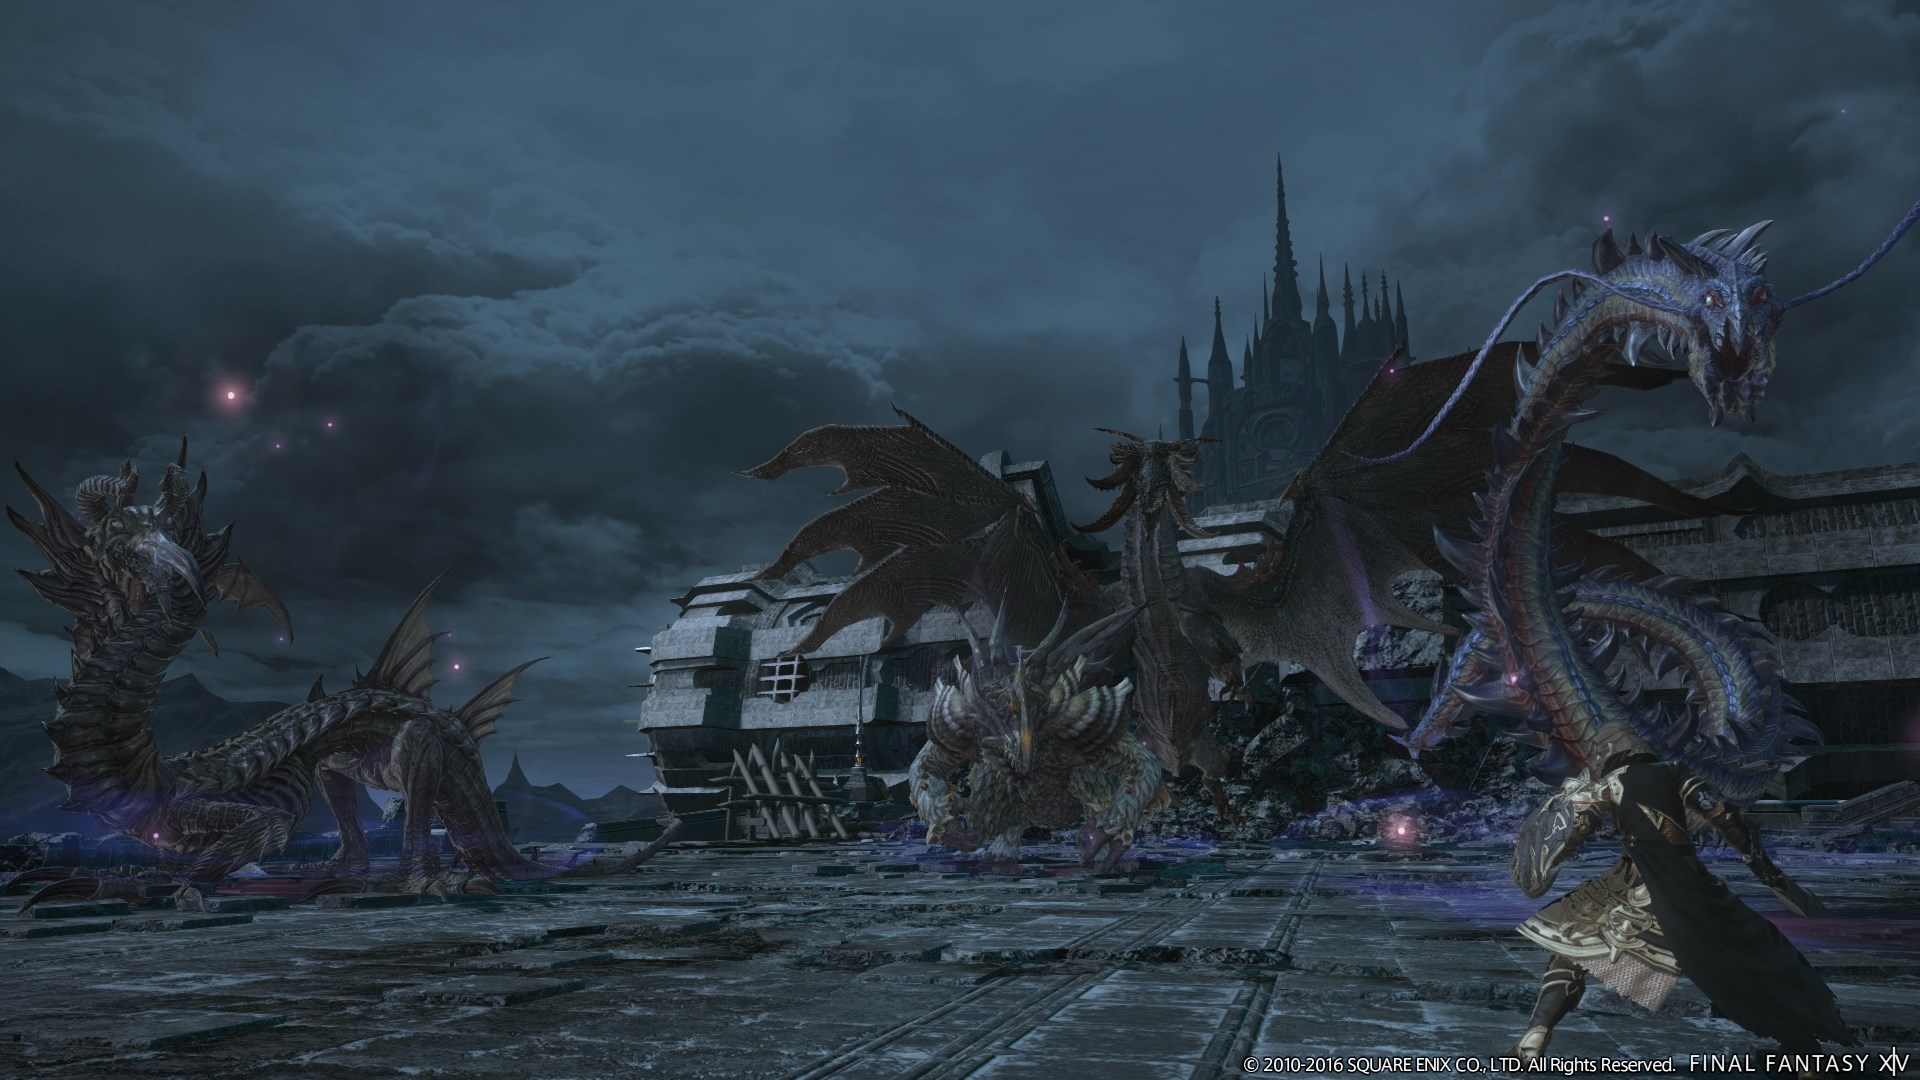
Add Phase
During the second phase, Nidhogg summons multiple adds and the encounter becomes a strict damage check. If the adds
are not defeated quickly enough, the phase ends in a wipe.
Central Add Swipe
The middle add cannot be tanked normally and attacks players with a short-range frontal swipe. The attack is shown
through its animation rather than a clear ground telegraph, so nearby players must move away when it prepares to
strike.
Akh Morn
Akh Morn appears in two different contexts during the encounter.
- Humanoid Phase: A heavy tank-focused multihit attack that places strong single-target healing pressure on the tank.
- Final Phase: A stack mechanic marked on a player by a large indicator. The party must remain stacked on the target until all hits resolve.
Geirskogul
A line AoE fired from Nidhogg toward a random player during the humanoid phase. Players must move out of its path
before it resolves.
Meteor Markers
Meteor circles appear on multiple players and must be spread toward the outer sections of the arena. After they
resolve, the lingering ground effects should be vacated immediately to avoid taking additional damage.
Large Area Blast
After the first meteor sequence, a large room-wide targeted AoE appears, often near a healer position. Players
should move as far from the blast as possible while still avoiding any overlapping mechanics nearby.
Fireball Bombs
Three fireballs appear on the arena floor during the final phase and explode in plus-shaped patterns. Players must
identify the open row and column and stand in a safe lane between the blasts.
Encounter Flow
Phase 1 – Dragon Form
The opening phase introduces Nidhogg’s general movement mechanics. Players deal with Deafening Bellow,
ground holes, fire trails, and the Hot Wing pattern while learning to reposition quickly after each
sequence.
This phase establishes the fight’s core rhythm: spread for personal markers, regroup to read the next mechanic,
then move again before the follow-up resolves.
Phase 2 – Adds
The second phase is a damage check built around defeating Nidhogg’s adds before the transition completes. The center
add uses a short frontal swipe, while the side adds must be tanked apart and faced away from the raid.
If the adds are not defeated quickly enough, the transition fails and the party wipes. Clean add focus and efficient
damage are the key requirements here.
Phase 3 – Humanoid Form
Nidhogg shifts into humanoid form and begins using Akh Morn on the tank, Geirskogul
line attacks, and meteor spread mechanics. This phase places heavier pressure on healers due to repeated raid damage
and strong single-target damage on the tank.
After the meteor spreads, a larger area blast follows, forcing the party to continue moving while recovering from
the earlier markers.
Phase 4 – Final Dragon Form
The final phase returns to a dragon-form pattern similar to Phase 1, but with more overlapping mechanics and a new
stack-based version of Akh Morn. The party must stack tightly on the marked target and stay grouped
until all hits finish.
This phase also introduces the plus-shaped bomb patterns from the fireballs, followed by repeated
Hot Wing and Hot Tail sequences, ground holes, and fire trails. These mechanics
repeat until Nidhogg is defeated.