The Minstrel’s Ballad: Nidhogg’s Rage Guide – Nidhogg Trial Mechanics
Duty Information
Expansion: Heavensward
Encounter: The Minstrel's Ballad: Nidhogg's Rage
Players: 8 (Tank / Tank / Healer / Healer / DPS / DPS / DPS / DPS)
Duty Finder Type: Trial
Level: 60
Item Level: 220
Unlock Requirement: Nidhogg's Rage
Encounter Overview
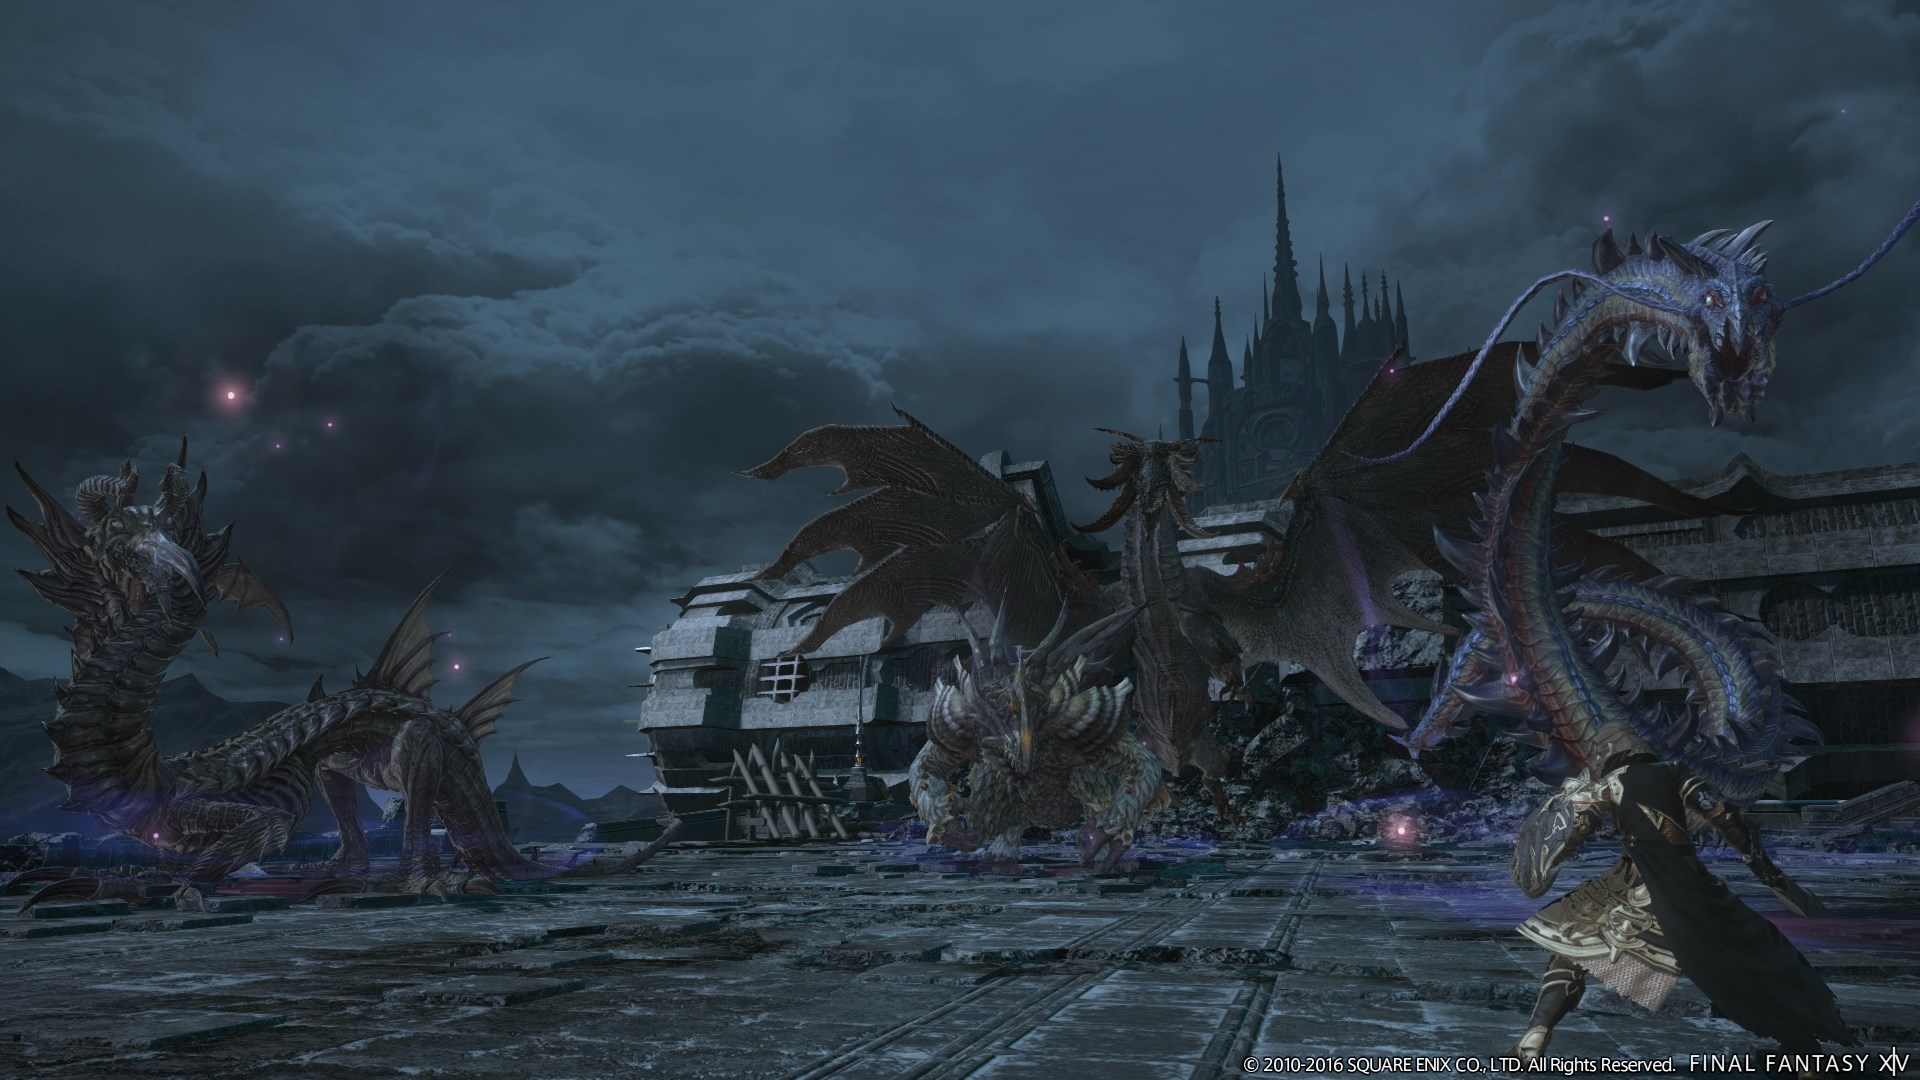
The Minstrel’s Ballad: Nidhogg’s Rage is the Extreme version of the Nidhogg encounter from Heavensward. The fight spans five phases and alternates between dragon-form and humanoid-form mechanics, combining raidwide damage, tank swaps, add control, tether handling, tower soaks, and repeated movement checks.
The encounter becomes progressively more demanding as it goes on. Early phases focus on movement and add priority, while later phases introduce tether assignments, structured tower mechanics, and a final dragon-form burn where tank debuffs and repeated Akh Morn casts create intense pressure.
Arena Overview
The battle takes place on a large circular platform with open edges. Several mechanics require the party to use the outer edge for puddle placement and spread markers, but the group must still leave enough room to move for dives, line attacks, and final-phase flame patterns.
Because many mechanics are snapshot-based and resolve in quick succession, clean positioning from the start of each sequence is extremely important.
Mechanic Archive
Scarlet Whisper
A frontal cleaving tankbuster in dragon form with no cast bar. Only the main tank should stand in front of Nidhogg when this resolves.
Deafening Bellow
A raidwide attack used repeatedly throughout the encounter. If the fight lasts too long, Nidhogg uses a final long cast of Deafening Bellow as a hard enrage that wipes the raid.
Horrid Roar (Sky)
Orange markers appear over random players. After a short delay, lightning strikes those targets and anyone nearby, dealing AoE damage.
Horrid Roar (Floor)
Puddles open beneath multiple players and then erupt shortly afterward. Players hit are inflicted with Hysteria. These puddles can be stacked deliberately to simplify later dodges.
Cauterize
Nidhogg dives across half the arena from the edge in a straight line. Players must identify the incoming path and move to the safe half before the dive resolves.
Hot Tail
A straight AoE running through Nidhogg’s head, center, and tail. The safe areas are at his sides.
Hot Wing
The inverse of Hot Tail. The sides of Nidhogg become unsafe, and players must instead stand at his head, tail, or directly beneath him depending on positioning.
Touchdown
Minor damage dealt near Nidhogg’s landing location as he returns to the platform after a dive.
Shadow Brobinyak
A tanked add in the add phase. It uses The Serpent’s Apple, a tankbuster that applies Physical Vulnerability Up, and becomes increasingly dangerous if left alive too long.
Shadow Falak
A second tanked add in the add phase. It uses Electric Predation, which applies Magic Vulnerability Up. Because of how this interacts with other incoming magic damage, tanks must be careful which add they pick up after swaps.
Shadow Dragon
An untankable add that attacks independently. It targets the farthest player with Fireball and also uses a melee cleave. If allowed to reach its threshold, it inflicts raidwide Vulnerability Up, making the rest of the phase much more dangerous.
Mortal Chorus / Final Chorus
These attacks end the add phase. If adds remain alive when the transition resolves, the party is wiped.
Drachenlance
A frontal cleaving tank attack in humanoid form. Nidhogg should always be faced away from the party.
Ala Morn
A heavy tankbuster in humanoid form. This places strong healing and mitigation pressure on the tank and should not be confused with Akh Morn.
High Jump
Multiple non-tanks are marked and then struck, leaving behind persistent puddles that inflict Bleeding. These should be dropped near the edges of the arena.
Geirskogul
A line AoE drawn through a High Jump puddle toward a random player. Because these line attacks use the puddle positions, placing the puddles cleanly near the outer edges makes them much easier to manage.
Soul Tether
Purple tethers attach to healers and must be intercepted by tanks before they explode. This mechanic appears in both the humanoid phase and the tower phase.
Nidhogg’s Fang
A destructible blue staff add. It tethers to the main tank and two random players. Whenever tethered players take damage, the Fang heals itself. Fangbound players must avoid unnecessary damage while the group burns it down.
Nidhogg’s Claw
An invulnerable red sword add. It can only be damaged indirectly by having Clawbound players take damage from designated mechanics such as the blue orbs and stack marker.
Eye of the Tyrant
A stack marker in humanoid form that targets a Fangbound player. Only the Clawbound players should join this stack, since the Fangbound players want to avoid taking damage and healing the Fang.
Darkdragon Dive
Four towers appear around the center of the arena. Each tower must be soaked by a player or the raid will likely wipe. The towers leave behind burning puddles afterward.
Super Jump
A flare-style marker dropped at the location of a High Jump puddle. Players must move far away to reduce the damage taken.
Bloodrage
A raidwide attack that begins the final phase and transitions Nidhogg back into dragon form.
Bitter Hate
A stacking debuff placed on the primary enmity target in the final phase. If it reaches eight stacks, the tank will die. Tank swaps are required before it gets too high.
Akh Morn
A repeated multihit stack marker in the final phase. The attack starts at four hits and gains an additional hit each time it is used, making later casts increasingly dangerous.
Flame Blast
Groups of flame orbs appear and later explode in plus-shaped patterns. These sequences combine with Horrid Roar and Hot Wing or Hot Tail to create the main movement checks of the final phase.
Encounter Flow
Phase 1 – Dragon Form
The opening phase is focused on movement and pattern recognition. Nidhogg alternates Scarlet Whisper and Deafening Bellow, then performs two Cauterize dives while combining them with Horrid Roar markers.
After another short cycle, Nidhogg begins using Hot Wing and Hot Tail in random order. This phase repeats until he is pushed to 80%.
Phase 2 – Add Phase
Nidhogg summons three adds and the fight becomes a DPS check. Shadow Brobinyak and Shadow Falak are tanked separately, while the untankable Shadow Dragon is controlled through positioning and avoided until the two tanked adds are dead.
Once the adds are defeated, Nidhogg uses Mortal Chorus and Final Chorus to begin the next phase. If any add is still alive when the transition resolves, the party wipes.
Phase 3 – Humanoid Form
Nidhogg switches into humanoid form and begins using Drachenlance, Ala Morn, High Jump, Geirskogul, and Soul Tether. The party should place High Jump puddles at the edge, regroup near the center to bait Geirskogul cleanly, and ensure tanks intercept both tethers.
Later in the phase, Nidhogg’s Fang and Nidhogg’s Claw appear. Fangbound players must avoid damage while the raid kills the Fang, and Clawbound players must intentionally take designated damage to destroy the Claw. Eye of the Tyrant resolves this interaction by targeting a Fangbound player, forcing only the Clawbound group to stack.
Phase 4 – Darkdragon Towers
Four Darkdragon Dive towers appear near the center while healers are marked by High Jump. The party must fill every tower, place the High Jump markers cleanly, and then handle a second round of High Jump together with Geirskogul, Soul Tether, and Super Jump.
This phase is primarily about assignment discipline. Players must know their tower, their corner, and their movement path in advance.
Phase 5 – Heart of the Dragon
Nidhogg returns in dragon form and opens with Bloodrage, then immediately begins final-phase pressure with Cauterize, raidwide Horrid Roars, and the first Akh Morn. From this point onward, tanks must manage Bitter Hate through repeated swaps while the party handles alternating Flame Blast patterns.
One Flame Blast pattern combines with Hot Wing and forces the party to move from center to corners. The other combines with Hot Tail and requires the group to react to where the line attack is aimed before choosing the final safe corner.
Nidhogg repeats this sequence until he dies or reaches the 11-minute hard enrage, where a final Deafening Bellow wipes the raid.