Castrum Fluminis Guide – Tsukuyomi Trial Mechanics
Duty Information
Expansion: Stormblood
Encounter: Castrum Fluminis
Players: 8 (Tank / Tank / Healer / Healer / DPS / DPS / DPS / DPS)
Duty Finder Type: Trial
Level: 70
Item Level: 335
Unlock Requirement: The Primary Agreement
Encounter Overview
Castrum Fluminis is the level 70 trial featuring Tsukuyomi, introduced in Stormblood. This encounter combines structured add phases with a unique Selenomancy mechanic that requires players to actively manage debuff stacks by shifting between light and dark zones.
The fight progresses through three main phases, increasing in complexity as mechanics begin to overlap. Proper add control, positioning, and awareness of debuff management are essential for success.
Arena Overview
The fight takes place on a circular platform. In Phase 3, the arena is split into two halves during Selenomancy, forcing players to move between sides to manage stacking debuffs.
Positioning becomes increasingly important as mechanics overlap and movement restrictions tighten.
Mechanic Archive
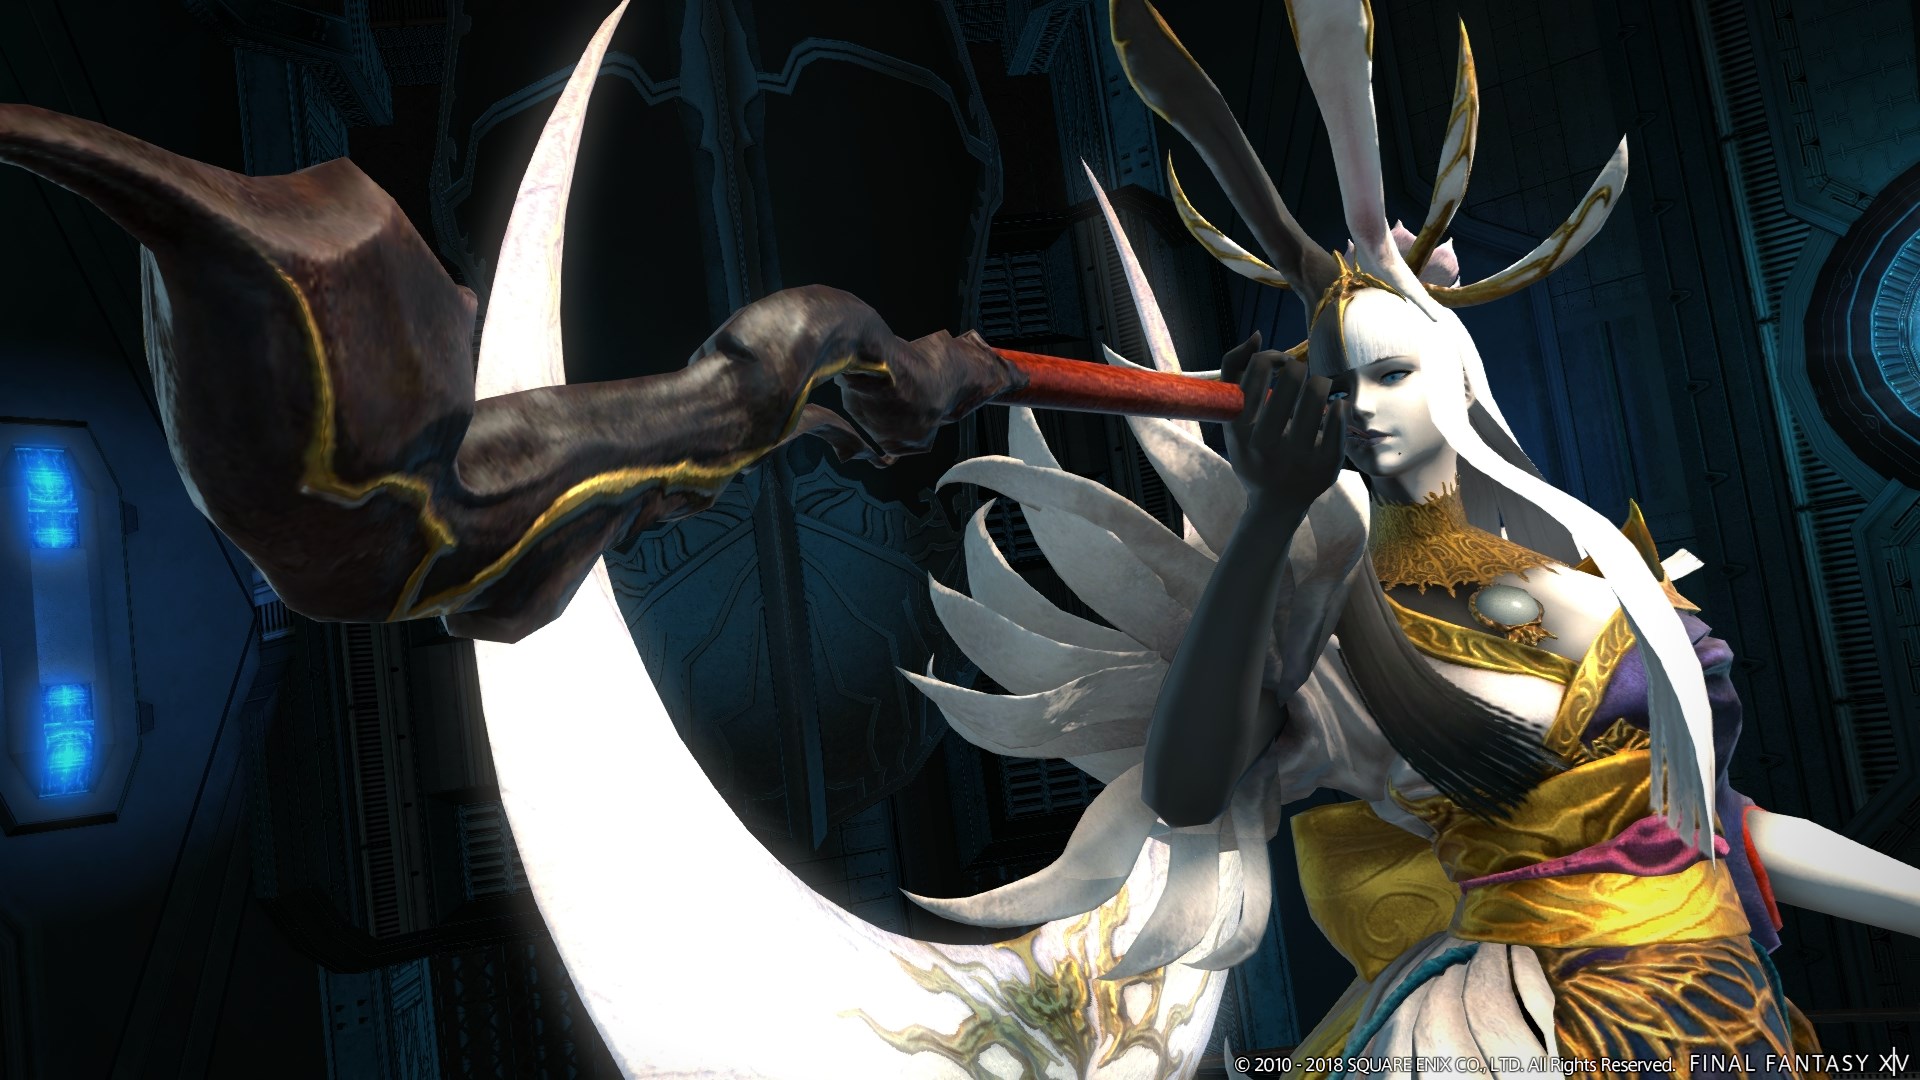
Torment Unto Death
A large frontal cone tankbuster. The main tank should face Tsukuyomi away from the party at all times.
Zashiki-Asobi
Fan-shaped AoEs appear around the arena and explode in sequence. Players should rotate through safe zones as explosions resolve.
Nightfall
Triggers a random mechanic during other actions. Players must quickly identify and react to the selected ability.
Steel of the Underworld
A frontal cone attack. Avoid standing in front of the boss.
Reprimand
Raidwide damage that must be healed through.
Midnight Haze
Spawns two adds that must be destroyed before they complete their cast or reach each other.
Lead of the Underworld
A line stack marker targeting a player. The party must line up to share damage.
Nightbloom
A raidwide AoE that also stuns the party, signaling the start of the add phase.
Suffering Gauge
A duty gauge that fills during the add phase. The longer the phase lasts, the more damage the party takes at its conclusion. If it reaches 100, the party is wiped.
Selenomancy
Splits the arena into two halves and applies stacking debuffs based on the side players stand on. At five stacks, players receive lethal effects.
Players must rotate between sides to reset stacks. Remaining on a side until the next stack tick removes accumulated stacks.
Antitwilight / Perilune
Ends Selenomancy, removes debuffs, and deals raidwide damage.
Dance of the Dead
A heavy raidwide attack signaling the transition into the final phase.
Lunacy
A multi-hit stack mechanic similar to Akh Morn. The party must remain grouped to survive successive hits.
Dark Blade / Bright Blade
A wide cleave covering more than half the arena. The safe side depends on the weapon being used.
Encounter Flow
Phase 1
Tsukuyomi opens with standard mechanics, including tankbusters, raidwide damage, and Zashiki-Asobi patterns. Players must rotate through safe zones while reacting to Nightfall, which introduces additional mechanics such as stack markers or add spawns.
Proper positioning and awareness are key, as mechanics can overlap and require quick adjustments.
Phase 2 – Add Phase
The phase begins with Nightbloom, dealing raidwide damage and stunning the party. Multiple waves of adds spawn and must be defeated quickly.
The Suffering Gauge steadily fills during this phase. The faster the adds are eliminated, the less damage the party will take at the end. Failure to clear efficiently can result in a wipe.
Phase 3
Tsukuyomi re-engages with previous mechanics while introducing Selenomancy. The arena splits into two halves, and players must rotate sides to manage stacking debuffs.
During this phase, mechanics such as Midnight Haze, donut AoEs, and Nightfall continue to occur, forcing players to balance movement, positioning, and add control simultaneously.
After Antitwilight / Perilune, the fight transitions into its final sequence with Dance of the Dead.
Final Phase
The encounter concludes with repeated use of Lunacy and wide cleaves from Dark Blade / Bright Blade. Players must remain stacked for multi-hit damage while identifying safe zones for incoming cleaves.
The fight continues with increasing pressure until Tsukuyomi is defeated.