Battle in the Big Keep Trial Guide
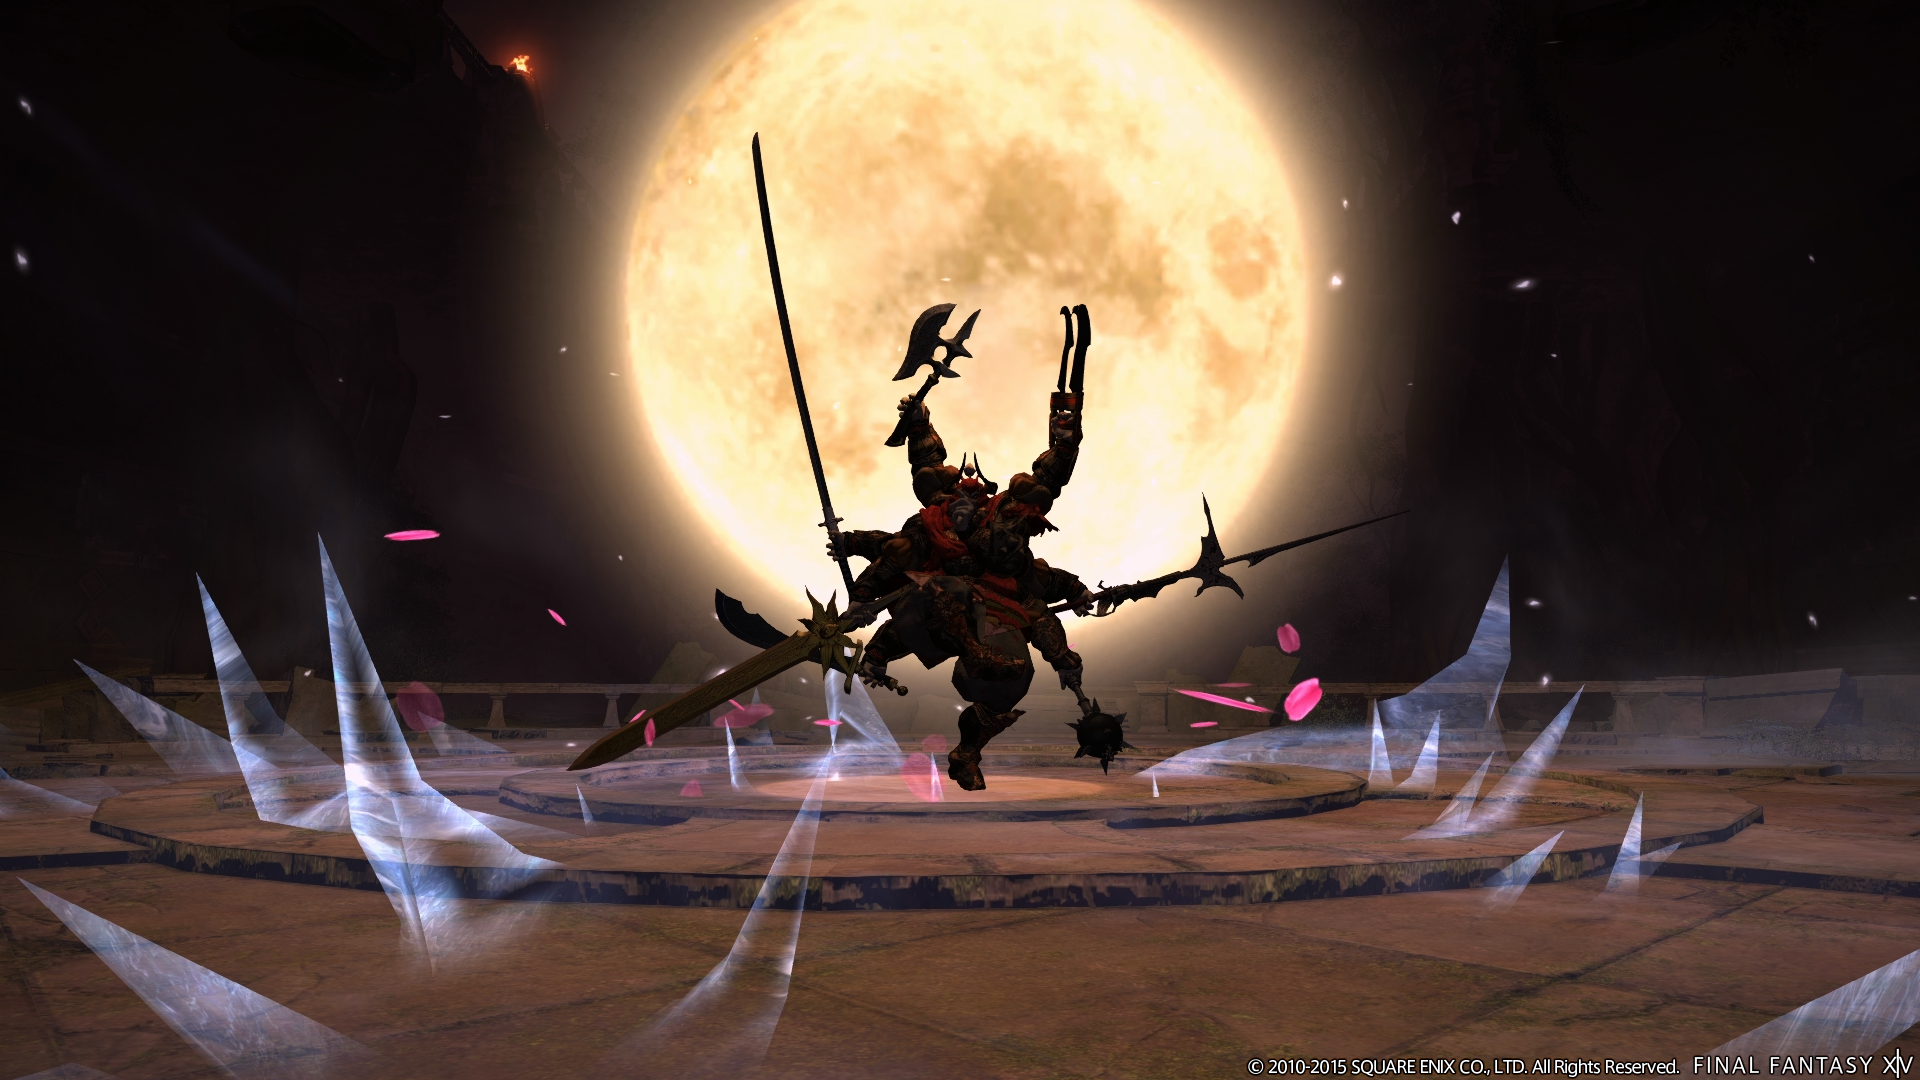
Battle in the Big Keep is a level 50 trial introduced in Patch 2.5 of A Realm Reborn as part of the Hildibrand Adventures questline. In this encounter, players once again face Gilgamesh, this time accompanied by his companion Enkidu before the battle transitions into a second phase within Amdapor Keep.
The encounter begins as a two-boss fight before shifting into a solo battle against Gilgamesh featuring complex AoE patterns, add mechanics, and powerful tankbuster attacks.
Encounter Info
-
Expansion: A Realm Reborn
-
Encounter Type: Trial
-
Duty: Battle in the Big Keep
-
Boss: Gilgamesh
-
Secondary Boss: Enkidu
-
Level: 50 (Sync: 50)
-
Party Size: 8 Players (Full Party)
-
Arena: Amdapor Keep
-
Unlock Quest: Her Last Vow
Encounter Overview
Battle in the Big Keep is divided into two distinct phases.
The first phase features a dual-boss encounter where players fight Gilgamesh and Enkidu simultaneously. Once Enkidu is defeated, the fight transitions into a second phase inside the keep where Gilgamesh gains new mechanics and attack patterns.
Players must manage:
-
multiple random-target AoE attacks
-
transformation mechanics
-
arena hazards
-
add waves during the second phase
-
powerful tankbuster abilities
Arena Analysis
The encounter begins outside the keep before transitioning into an interior arena.
The second arena is larger and contains several pattern-based AoE mechanics, requiring careful movement and positioning.
Because Gilgamesh frequently targets random players with attacks, the group must remain aware of spacing to avoid unnecessary damage.
Phase Structure
Phase 1 — Gilgamesh & Enkidu
Both bosses are active and must be managed separately.
Phase 2 — Gilgamesh Alone
After Enkidu is defeated, the fight moves inside the keep and Gilgamesh gains additional mechanics.
Phase 1 Mechanics
During the first phase, the party fights Gilgamesh and Enkidu simultaneously.
Tanks should separate the bosses while the party focuses on defeating Enkidu first.
Once Enkidu is defeated, the encounter transitions to Phase 2 and Gilgamesh’s HP resets.
Enkidu Mechanics
Aero II
Type: Targeted AoE
How to Recognize It
-
A player is targeted with a circular AoE marker.
What It Does
Deals moderate damage to players within the area.
How Players Handle It
The targeted player should move away from others.
Web
Type: Debuff attack
How to Recognize It
-
Enkidu targets random players.
What It Does
Applies Heavy and Slow, reducing movement and attack speed.
Eerie Soundwave
Type: Conal AoE
How to Recognize It
-
Enkidu targets a player with a cone-shaped attack.
What It Does
Deals moderate damage.
How Players Handle It
Move out of the cone before the attack resolves.
White Wind
Type: Healing ability
What It Does
Enkidu heals Gilgamesh.
Why It’s Dangerous
Prolongs the fight if Enkidu is not defeated quickly.
Gilgamesh Mechanics (Phase 1)
Bitter End
Type: Frontal cleave
How to Recognize It
-
Gilgamesh faces forward and attacks.
What It Does
Deals heavy damage to players standing in front of him.
How Players Handle It
Only the tank should stand in front of Gilgamesh.
Missile
Type: Targeted AoE
How to Recognize It
-
A player receives a crosshair marker.
What It Does
Deals moderate damage in an area around the target.
How Players Handle It
The marked player should move away from the group.
Minimum
Type: Player tether debuff
How to Recognize It
-
Two players become tethered and shrink.
What It Does
Reduces damage dealt and increases damage taken.
How Players Handle It
The tethered players should move together to remove the debuff.
Chicken
Type: Transformation mechanic
How to Recognize It
-
A player transforms into a Chicken.
What It Does
The player cannot use abilities while transformed.
Special Interaction
Chickened players can safely run through Mini Tornadoes.
Mini Tornado
Type: Environmental hazard
What It Does
Creates wind puddles that knock players into the air and deal damage.
How Players Handle It
Avoid the puddles unless transformed into a Chicken.
Whirlwind Slash
Type: Point-blank AoE
What It Does
Deals damage around Gilgamesh.
How Players Handle It
Move away from the boss before it resolves.
Pradamante
Type: Targeted AoE
What It Does
Targets a random player with a damaging AoE.
Phase 2 — Gilgamesh
After Enkidu is defeated, the fight moves inside the keep and Gilgamesh gains new mechanics.
Gilgamesh Phase 2 Mechanics
Moonlight
Type: Arena-wide AoE
How to Recognize It
-
The floor begins glowing.
What It Does
Deals moderate damage across the arena.
How Players Handle It
Players may avoid damage by standing on raised sections of the arena.
Icewind
Type: Pattern-based AoE
How to Recognize It
-
Multiple crisscrossing line AoEs appear across the arena.
What It Does
The lines create shifting safe zones that change after the first set resolves.
How Players Handle It
Move to the initial safe area, then reposition quickly when the pattern shifts.
Bloomshower
Type: Large AoE pattern
How to Recognize It
-
Multiple curved AoEs appear across the arena forming a flower-like pattern.
What It Does
Deals moderate damage across the affected areas.
How Players Handle It
Move into the safe gaps between the AoE zones.
Iron Chain
Type: Player restraint mechanic
How to Recognize It
-
A player becomes chained to Gilgamesh.
What It Does
The player is immobilized and takes damage over time.
How Players Handle It
Other players must destroy the Iron Chain object to free them.
Sword Dance
Type: Tankbuster
How to Recognize It
-
Gilgamesh begins a multi-hit attack on the tank.
What It Does
Deals multiple hits of heavy damage.
How Players Handle It
The tank can move behind the boss to avoid the attack.
Giga Jump
Type: Targeted leap attack
How to Recognize It
-
Gilgamesh targets a random player before jumping.
What It Does
Deals AoE damage where he lands.
Masamune
Type: Charge attack
How to Recognize It
-
Immediately follows Giga Jump.
What It Does
Gilgamesh charges back toward the tank, damaging players in his path.
How Players Handle It
Avoid standing between Gilgamesh and the tank.
Add Mechanics
Dragon’s Head
Four Dragon’s Head enemies appear around the arena.
Abilities
-
Dragonfire line attacks
-
Dragonstrike raidwide damage if they survive too long
Priority
Players should defeat at least three Dragon’s Heads before they unleash Dragonstrike.
Lightning Orb Mechanic
Purple orbs appear in either:
-
the center of the arena
-
a ring around the outer edge
Players must dodge the first wave and quickly reposition when the safe zones shift.
Mechanic Interaction Notes
The second phase becomes dangerous when Icewind patterns, orb mechanics, and Dragon’s Head adds occur simultaneously.
Players must carefully reposition while maintaining damage on both Gilgamesh and the adds.
Role Pressure Analysis
Tank Pressure
Tanks must manage positioning and survive heavy tankbuster attacks like Sword Dance.
Healer Pressure
Healers must respond to frequent raidwide damage and players trapped by Iron Chains.
DPS Pressure
DPS players must quickly defeat Dragon’s Heads while maintaining pressure on Gilgamesh.
Common Failure Points
Groups often struggle when:
-
Enkidu is not defeated quickly in Phase 1
-
Dragon’s Head adds are not killed before Dragonstrike
-
players are hit by Icewind patterns
-
players stand between Gilgamesh and the tank during Masamune
Difficulty Profile
| Category | Rating |
|---|---|
| Mechanical Complexity | High |
| Reaction Speed | High |
| Positioning Precision | High |
| Recovery Difficulty | Moderate |
| Punishment Severity | High |
Guild Summary
Battle in the Big Keep is a multi-phase encounter against Gilgamesh that combines dual-boss mechanics, environmental hazards, and complex AoE patterns. Success depends on defeating Enkidu quickly, managing Phase 2 mechanics, and eliminating Dragon’s Head adds before they unleash their raidwide attack.